Two and a half years later……..

When the last person left the hall at Glasgow in February 2020 and we started to pack up to make the long journey back to Rochdale, I was already thinking about the next show at Alexandra Palace, London in 4 weeks time. We didn’t know it then but that, and a lot of other exhibitions would never happen.

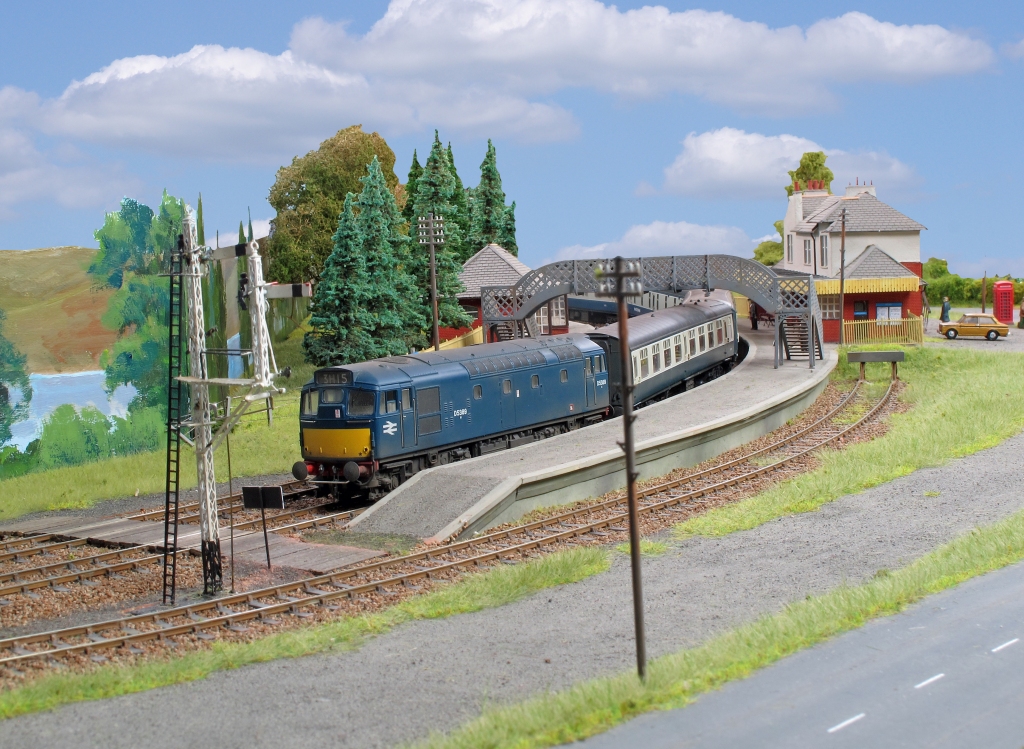
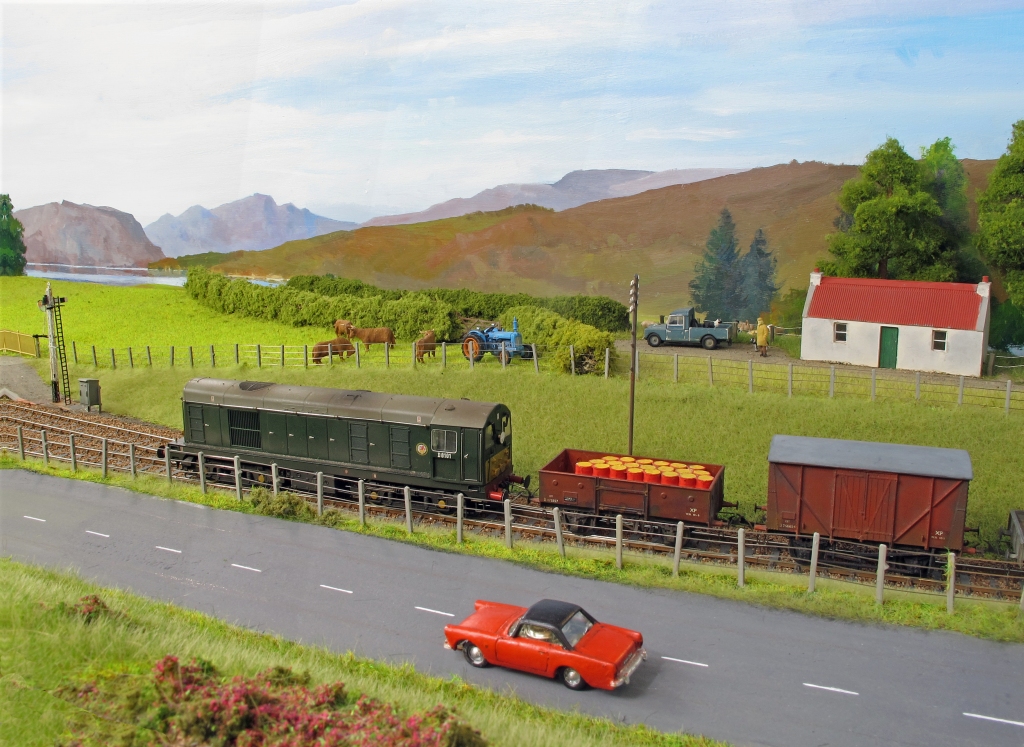
But today, two and a half years later Im preparing to take North Ballachulish the short hop over the M62 to Expo EM Summer at Kettlethorpe High School, Wakefield. https://emgs.org/shows-exhibitions/ Ive got to admit to a little trepidation about it even though the layout has been set up and run, whilst Karl Crowther took some pictures for an article in August’s edition of Railway Modeller – see the attached photos – its still a bit of a nervy time, the van hire, the travel the setting up and then still being pleasant to the punters when things start to fall over!

One thing for sure, Wakefield’s Good Beer Guide pubs will be getting a thorough survey on Friday and Saturday evening.

Photos courtesy of Karl Crowther / Railway Modeller

Moving on

Ive now done a series of mock ups of the buildings, really to et an idea of how generally the finished layout will appear. Whilst the results are a sea of white, I’m quite pleased with it – it also confirmed that the original configuration (in grey) of the Northlight carding shed was wrong, and resulted in a “rebuild” if you can call it that. But I need to move on and do something different now.


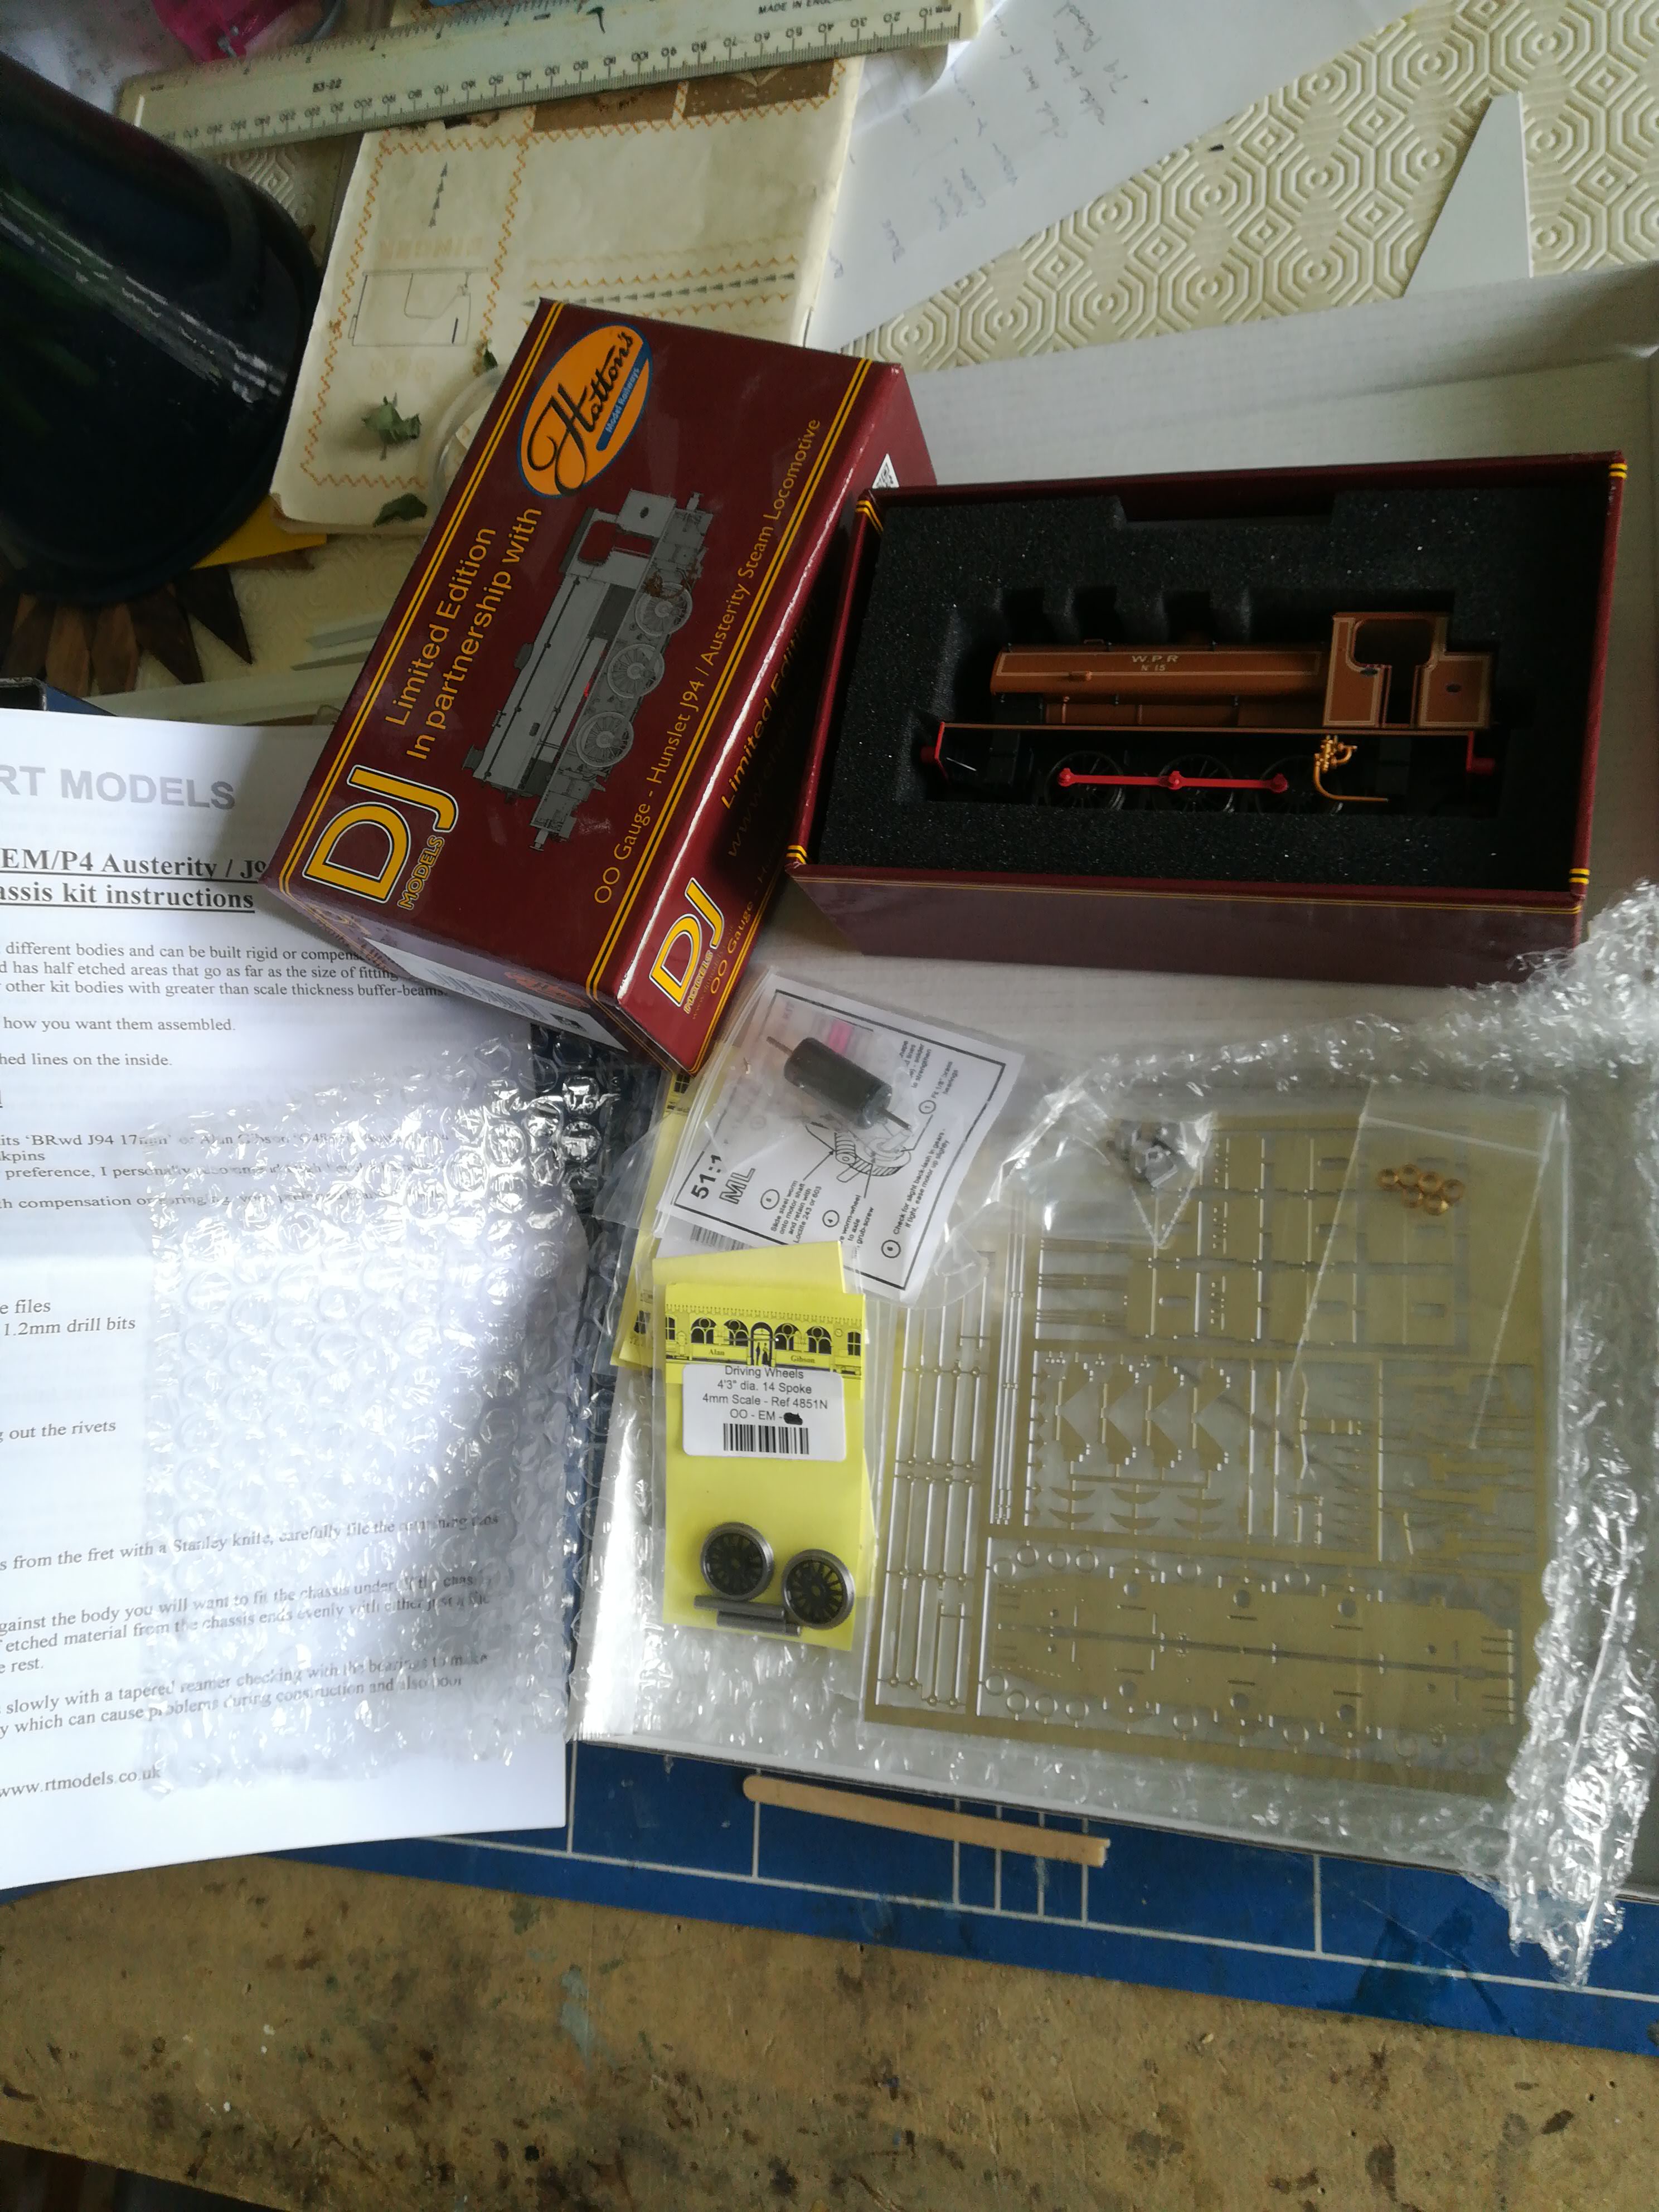
I’ve a few etched brass industrial loco projects to do, and its a while since Ive actually built a kit so I thought Id start with the easiest project and work up from there. As it happens, the easiest option is that of turning a pigs ear into a silk purse, or even harder in this case, a DJM Austerity that runs.

Lets face it, its all front, a bit like he who should not be named who designed and marketed it. Face value it looks good, pretty much accurate on the body size, injectors look a bit clumsy to me but that can be sorted, it looks fine. The mechanics of this are another story however, it really is the biggest piece of ordure ever made. My good friend Graham Bucknell got a couple shortly after they came out for his layout Kirkmellington. I recall sat with him at Ally Pally with the layout a few years back attempting to figure out how to convert them to EM, they were bad enough runners in OO. Form over substance is probably the kindest thing to say.

Anyhow, about a year and a half ago Hattons were knocking them out for a price at which had it been today you’d have thought the boxes contained COVID 19. Although at this stage Greenbooth was just an idea, I was going to do something industrial in EM for another club members project, so I bit the bullet and my principles and shelled out just short of 60 beer tokens for one. I daresay I could have pulled the wheels out to EM and tried it, but a test run on the grandkids OO layout upstairs confirmed my worst fears, it ran like the piece of shit it is. Wheel pulling was not, and in reality never was, an option. Luckily I knew by then that RT Models produce a chassis for it ( Graham had already gone down this route). I picked one up from RT last year and like you should do with all pieces of etched brass, put it into the kit drawer to mature. (I’ve a circa 20 year old Brassmasters Jubillee in there that’s still not quite ready lol)
burst

So now it time to build and hopefully produce something worthy of the body work. Yesterday I folded up and put the High Level gear box together – that’s paired with a Mashima 2012. Hopefully the soldering iron will be out today to commence the frames.

Wired

The last three weeks have been spent on the highly unglamorous but absolute necessity of wiring the layout up. Logic dictates building a control panel first which was built in the woodworking shop, commonly known as the garage. Luckily I’d managed to get the component parts for this at Model Rail Scotland having planned ahead, but thinking I could pick more parts and material up at Ally Pally had left everything else. It was only when I’d started the final testing of the panel I realised I was lacking in wire, a 25 pin D connector and a few other bits and pieces, and stuck in the house because of the lockdown.

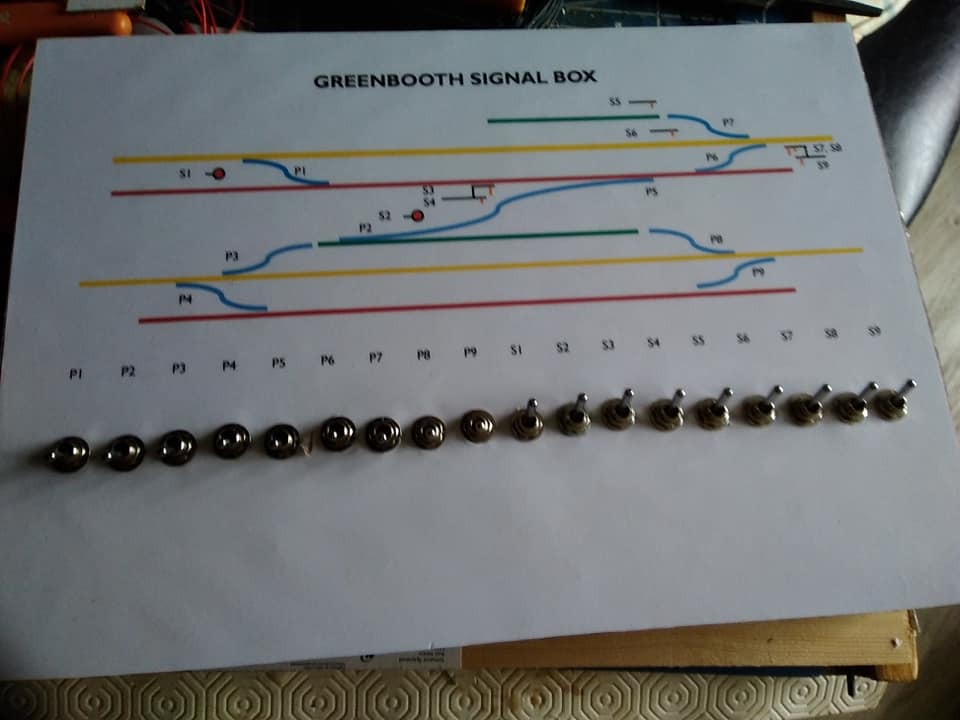
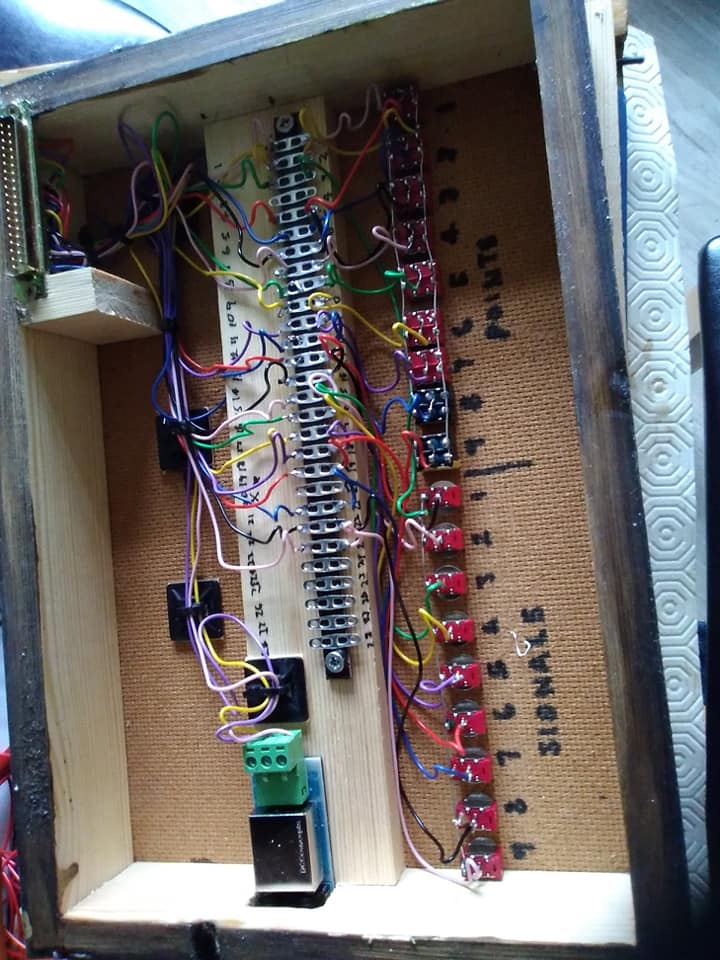
GB panel completed 2GB panel completed 1

Its moments like this you realise how much you rely on shows to source the various bits and bats required for layouts, and I’m missing them very much. OK, much the same traders benefited from online orders (mainly Eileens Emporium) but there’s no substitute for browsing through a traders wares and actually physically seeing what you want – quite often I will see something a bit better than what I intended and end up getting that.

So just over two weeks later I have a wired board. The DCC bus is split into two power districts, the industrial side and the mainline. Point motors are DCC Concepts IP analogue, fed through one of their split power supplies which makes wiring runs a lot easier. Everything was buzzed out with the multimeter as I went along so I was fairkly confident of it working (or most of it) first time.

The wiring was completed a couple of days back and then time spent tidying it all up and securing it before introducing power first to the points. A few needed polarity reversing so that with the lever – or switch in this case – in the normal position, it gives the through route on the panel diagram.  Happy all that was well in that camp, the boards were put back into their normal position, connected up, a final check that the points were throwing OK and then plug in the NCE Power Pro and away we go.


OK a class 40 is not the best testing tool for a shunting plank that not likely to see anything much bigger than a 4F or a class 25, but its the only loco to hand which has a chip in it. Its pulled wheels gave a searching test of the points and highlighted a couple of tight spots on crossings but other than that and 3 dry joints on the dropper feeds it was a successful test and bodes well for the future. Next job, put a chip in a far more representative loco!

Not going viral

Karrier

The Karrier has been traced.

I today made the very difficult decision to pull North Ballachulish out of the Alexandra Palace show, and that’s even before Boris pulls the plug by banning gatherings of size. Like a lot of folk in this hobby I’m over 60 and have a respiratory problem, and therefore in the at risk group, so for the last week and a bit I’ve been on the cusp of withdrawing, especially as it means exposing the other operators to risk as well.

Having had further discussion with the crew, and heeded the advice of the medical profession, plus the further decisions of the Irish today to ban gatherings of 100 plus then it was a no brainer really.

Dissapointed not to be going as we always enjoy the show but at the end of the day health is more important than toy trains. Sorry for any inconvenience caused to the organisers.


One down, one more to go.

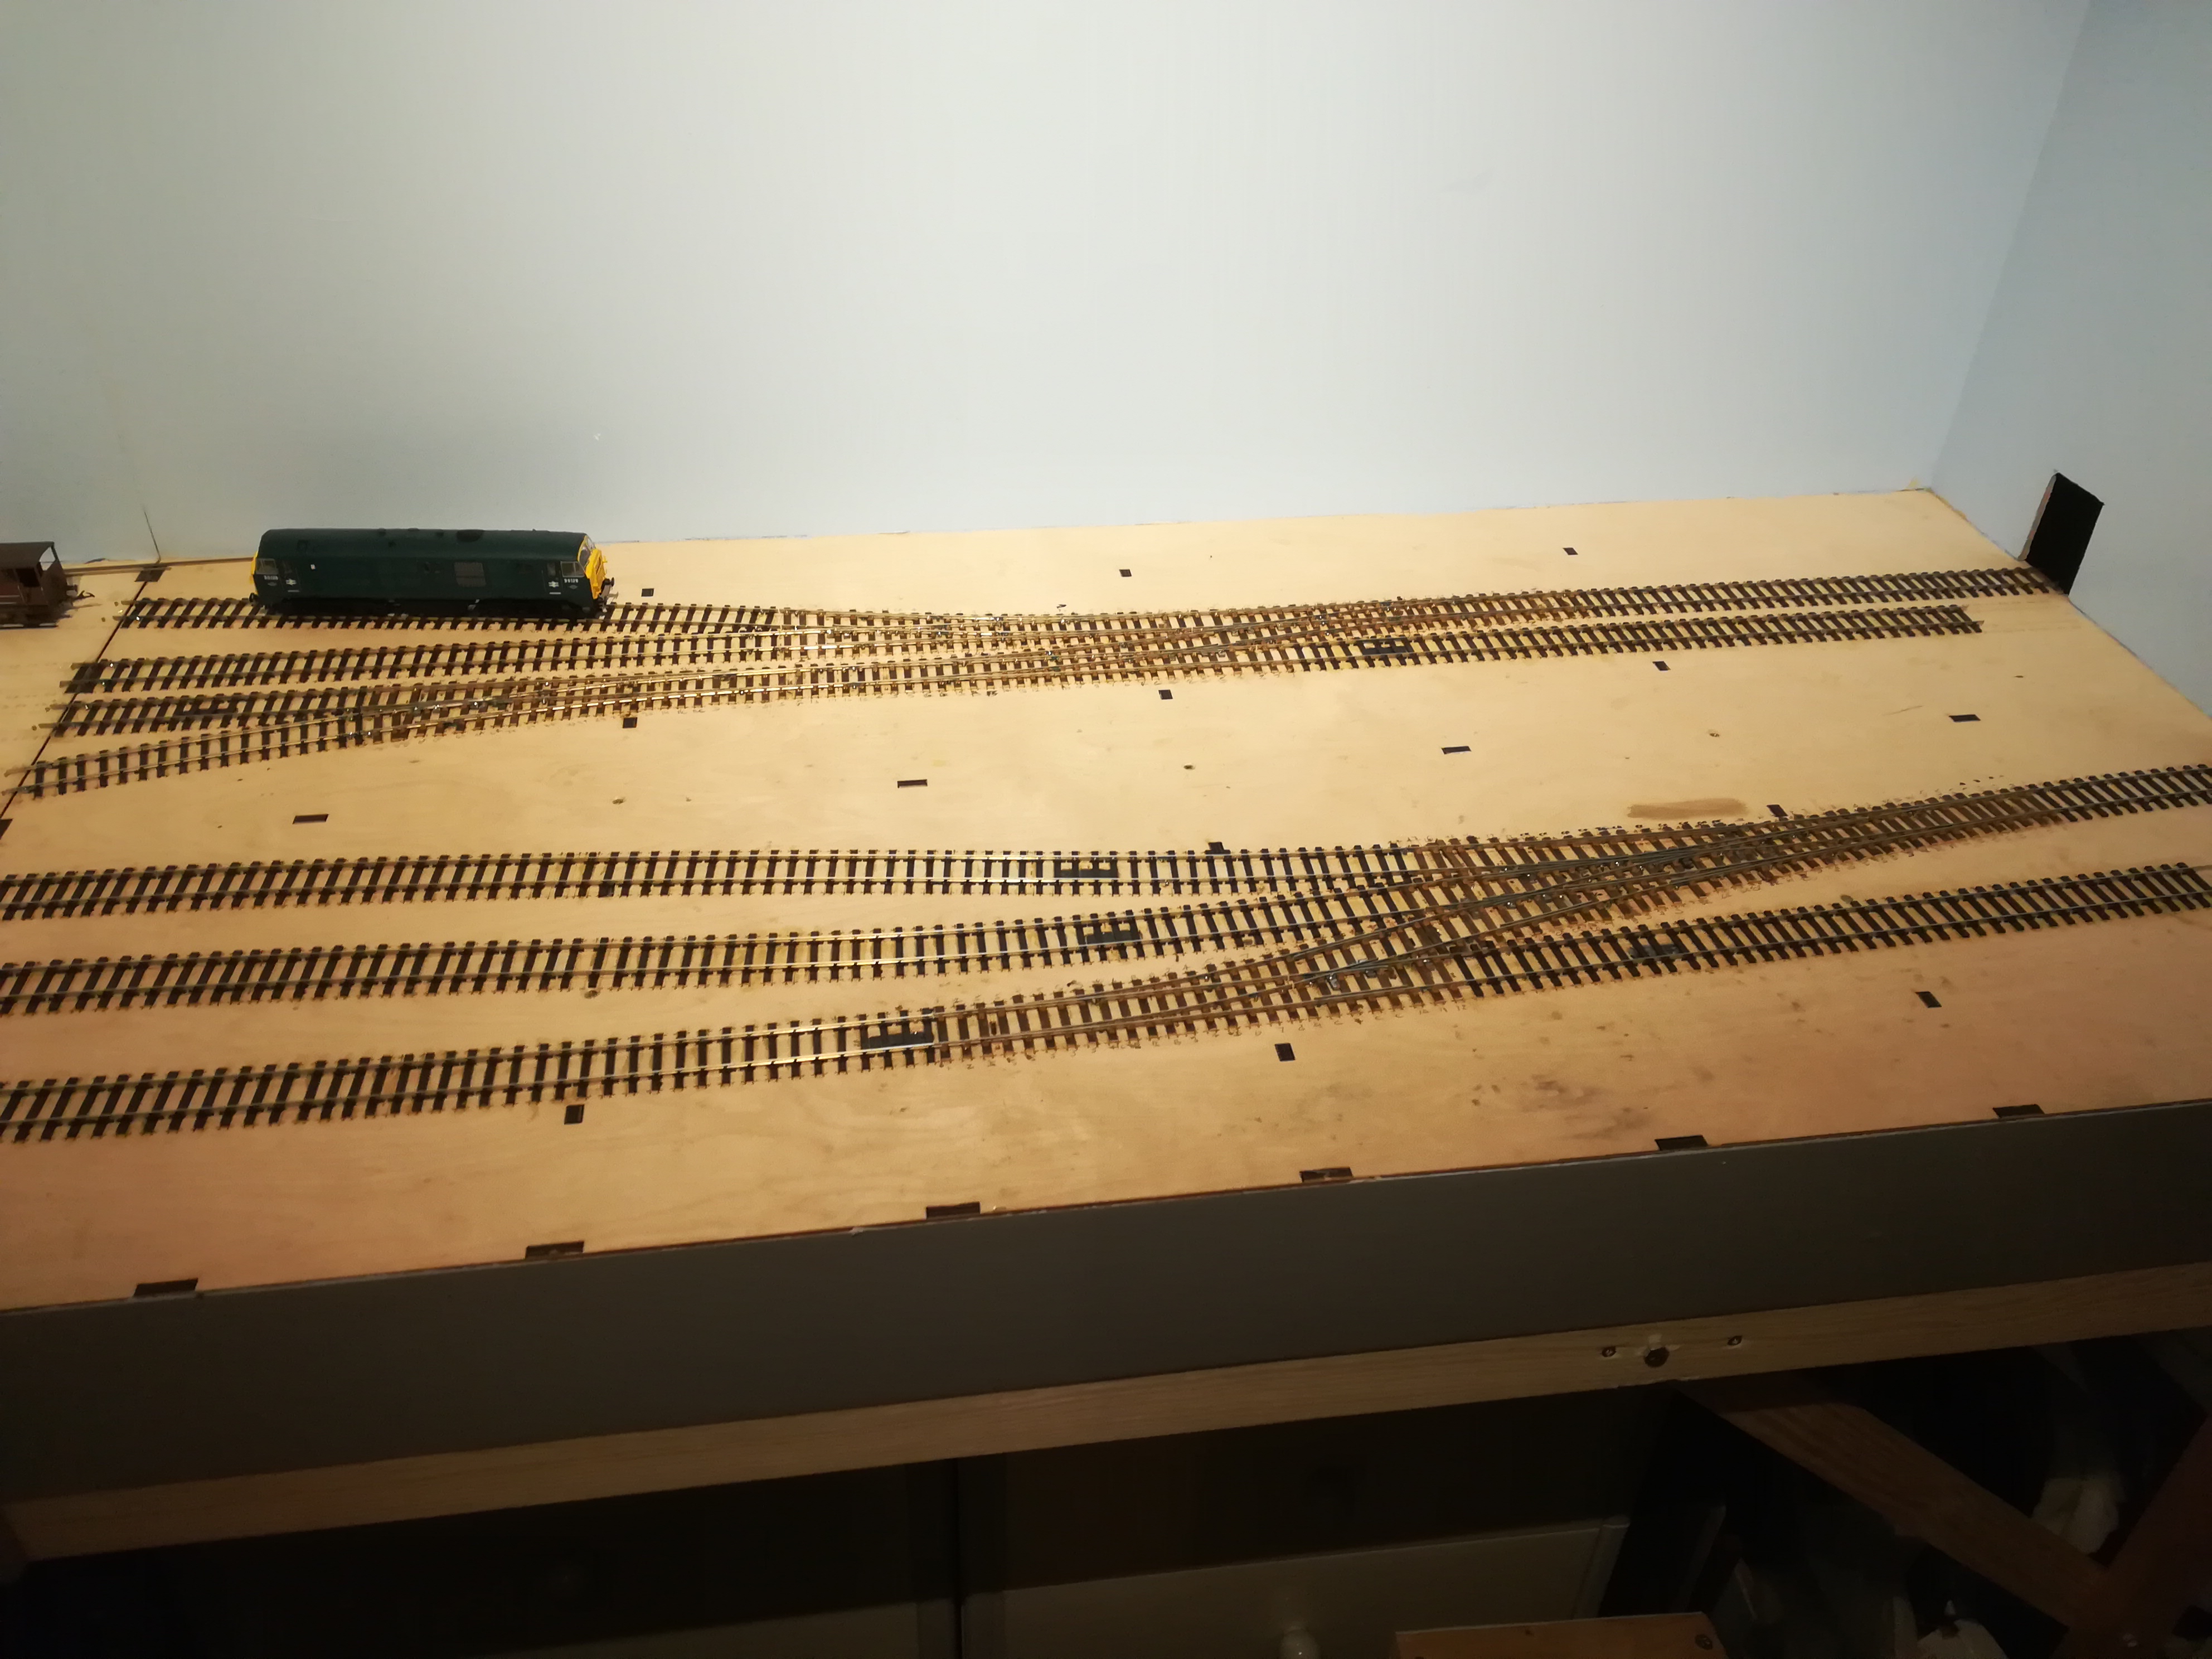
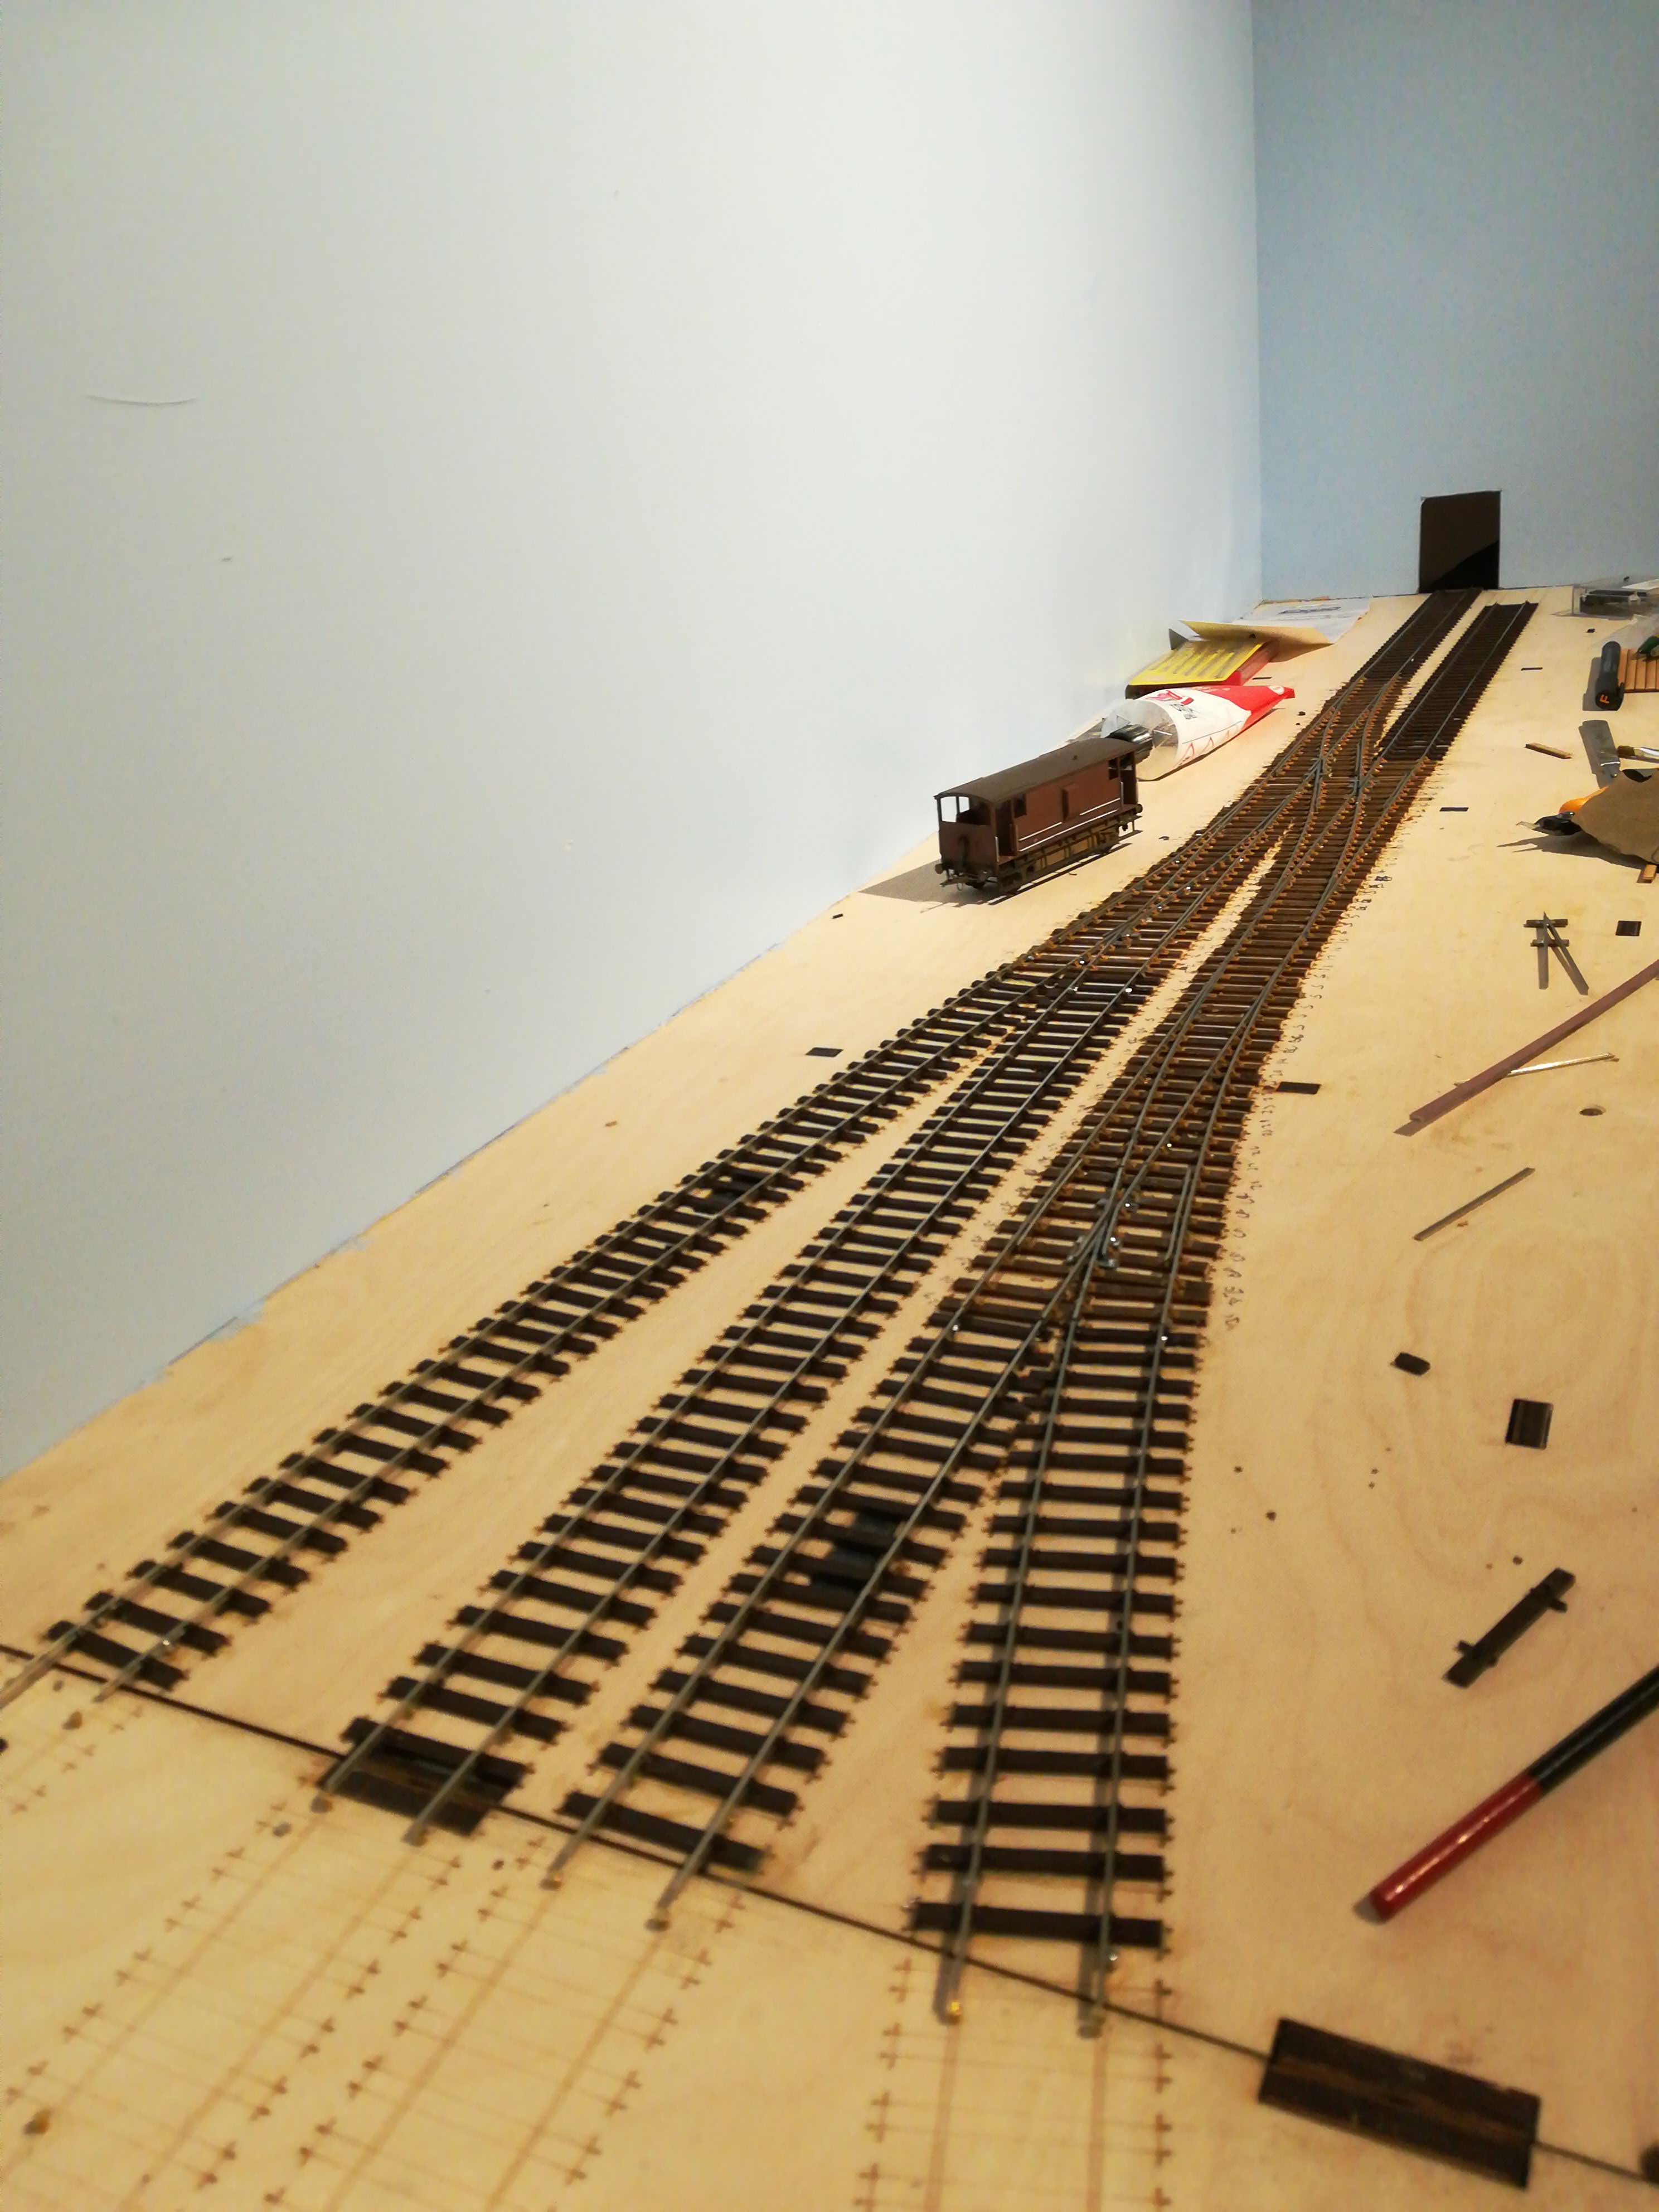
The first boards tracklaying was finished today. Without doubt the three way point was the one which was most challenging to build – and that’s before Ive started to wire it up. This is mainly down to the complexity and flat angles of the common crossings on it, the sub assembly which contains the main 2 crossings and is wired in common was a bit fiddly to say the least, some very tight clearances and not easy to get into with a soldering iron, but hey ho, its done and the coach and a LWB brake van run through it well.

dav


dav

Note the Scottish interloper, converted to EM yesterday in time for the Glasgow show in a week and a bit, and just awaiting a coat of grime once I’ve put a coupling bar on the other new recruit still lurking in its bix (this one came RTR in EM), and I can use the airbrush to put the base frame dirt on both locos at the same time.

Now I was going to do that today but whilst tidying the rail ends up at board joints decided to start to bridge the gap on the main line. I then got carried away and put down the sleepers on the loco release crossover as all of  sudden the track laying is half done and with that, a bout of enthusiasm. Must get the air brush out tomorrow though.


davdavdav

On track

Following the fallow Christmas modelling period, I’m feeling a bit pleased as the first quarter section of the layout was completed today, the station throat. Its taken some time all in all despite prefabricating the common crossings. I suppose a the end of the day  the time consuming (and mind numbing) bit is threading chairs on rail, but in the end the result achieved is worth it.

Ive used 3 different types of chair on the points, getting the really specialist ones was getting a bit to anal! n addition to the 4 bolt plain chairs Ive used the Exactoscale Bridge chairs at the crossing and also the special check rail chairs. These weren’t around when I built North Ballachulish but I wish they had been, they make a fiddly job easy. You do have do count accurately and plot exactly where they are going otherwise you end up unthtreading chairs, and swearing profusely.

burstdav


On to the next section to build now, the engine house side of the sorting sidings, and the first time building a three way point in many years. A refresher in how a three way is wired was required before contemplating building and a decision made to build the common crossings using the laser cut pattern on the boards rather than on the workbench as some of the angles are a bit odd.

dav

The first crossing to build is the complex one for the main route with the two crossings wired together. After due consideration I’m going to build it as a single fabricated unit rather than separate bits as it should make it all flow better. On the photo below the position of the copperclad  to build it up on is marked in black and rails already cut to length. Ive still got to file the “vee” on the 1:5 centre crossing  as that’s the difficult piece as it forms a check rail for its associated crossing. All good fun and a nice challenge, but I must remember to put chairs on before it all gets soldered up.

dav


Bricking it

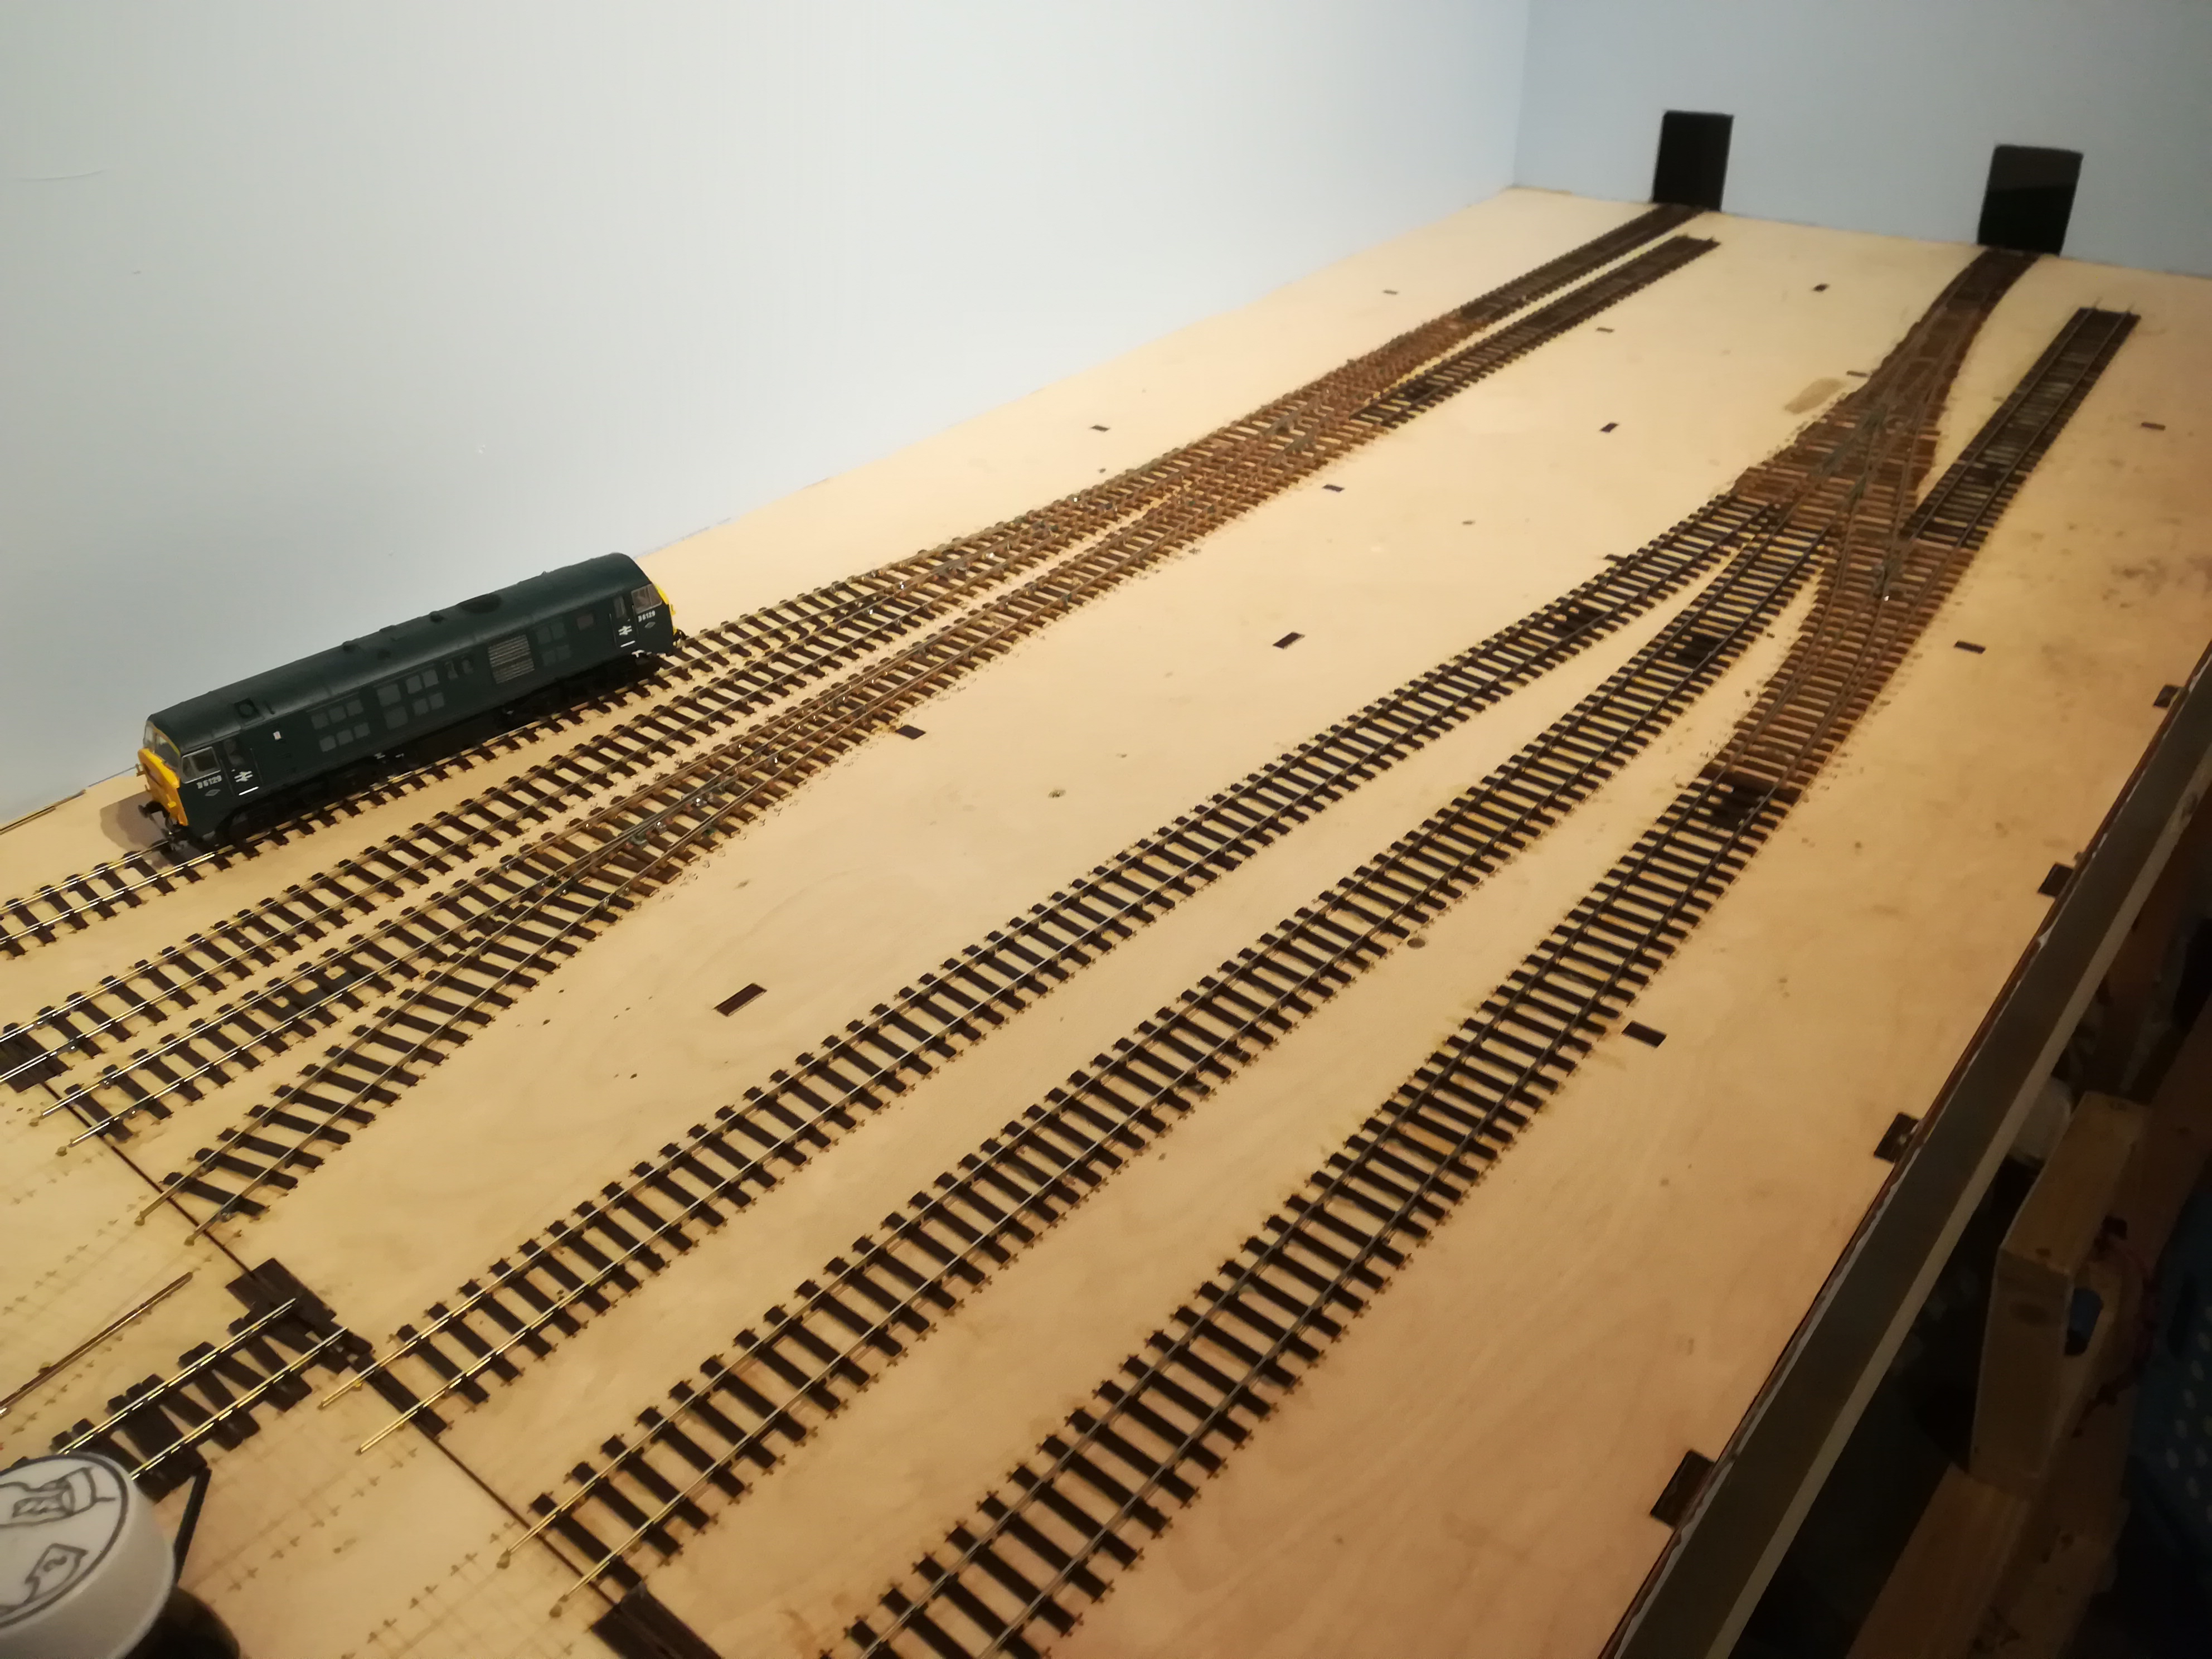
Following various distractions, Warley, a trip to see our new grandson in Oslo,  Manchester show and managing a voting exercise for local pubs to go in the next Good Beer Guide, Ive finally this week had some time to do a bit of work on Greenbooth. The boards came down to manufacture the end protectors and also see how it crates up (causing a rethink on how it goes in the car) before putting it back on the subframe to start the next milestone, laying track.

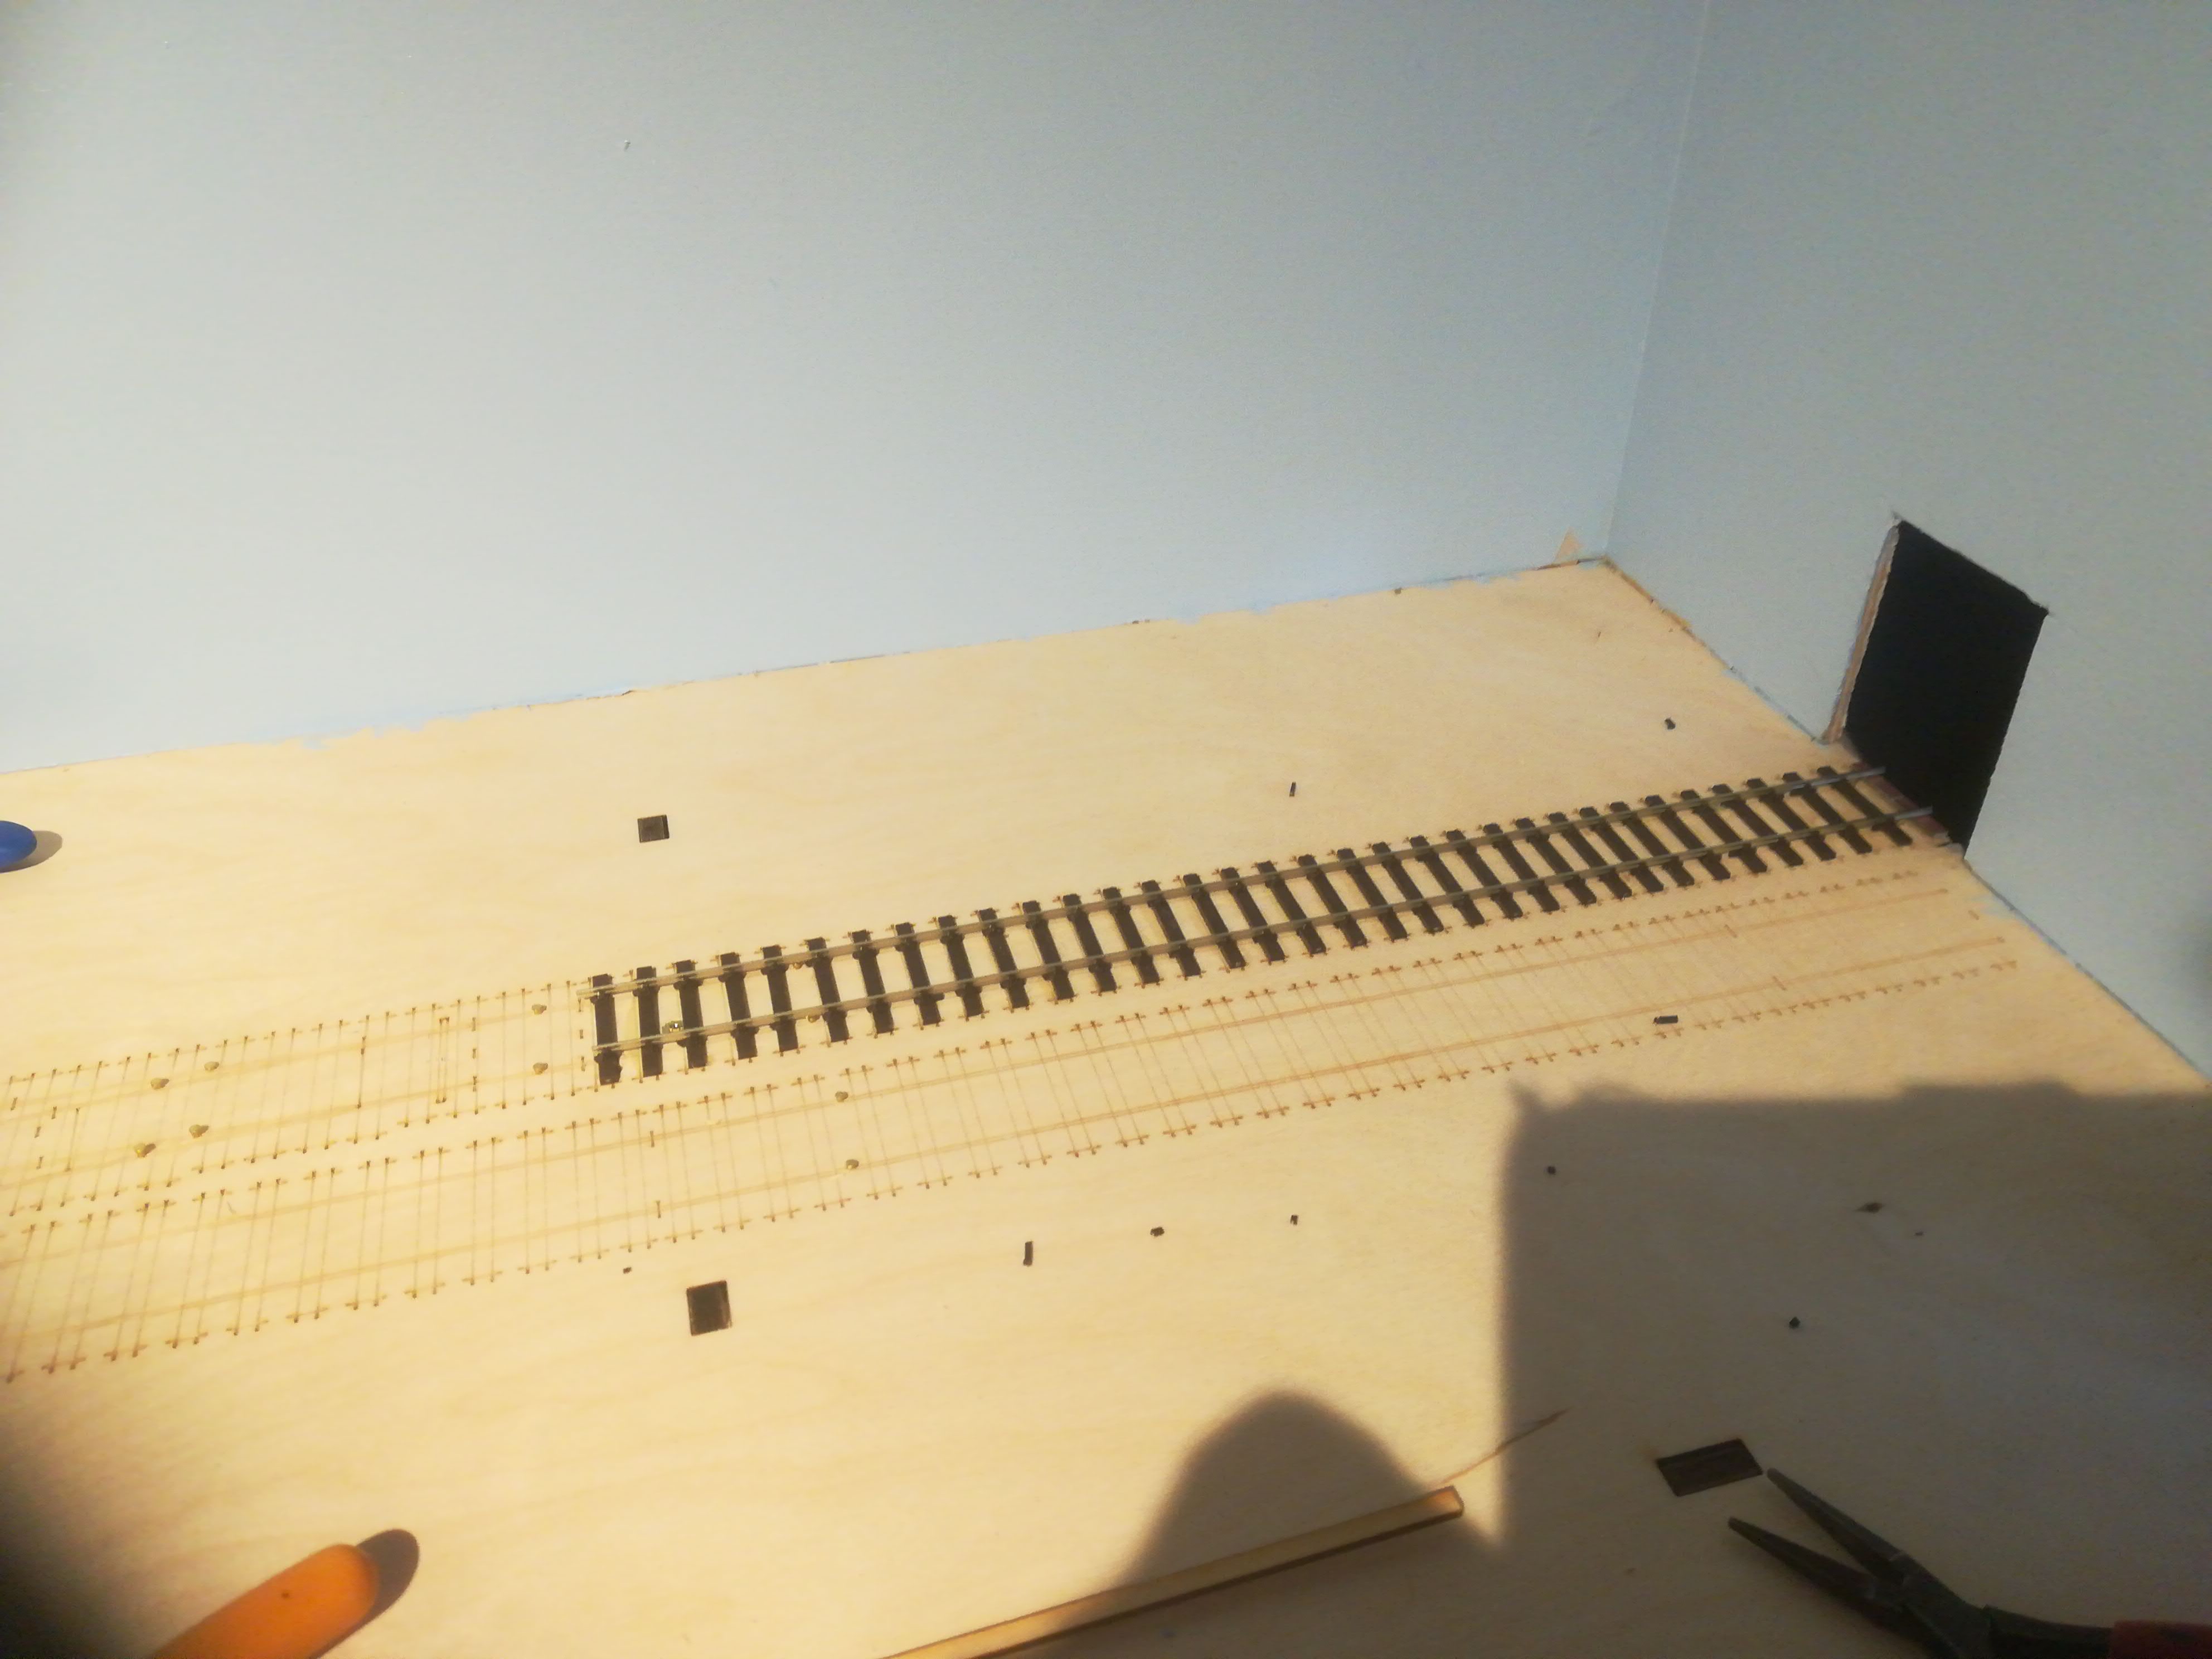
I’m using the new EM gauge PECO flexi track, mainly because of the depth of the sleepers. One thing has become immediately apparent, the sleepers are too closely spaced do for the first piece of track I spent ten minutes cutting the webs under the rails to correctly space the sleepers. I use an impact adhesive to stick the track down, the good thing about having the track plan etched in the boards means you have an accurate mark to glue on. Once the track was down it was out with the Rishworth Trophy to weight it down flat.

GB track 3.jpg

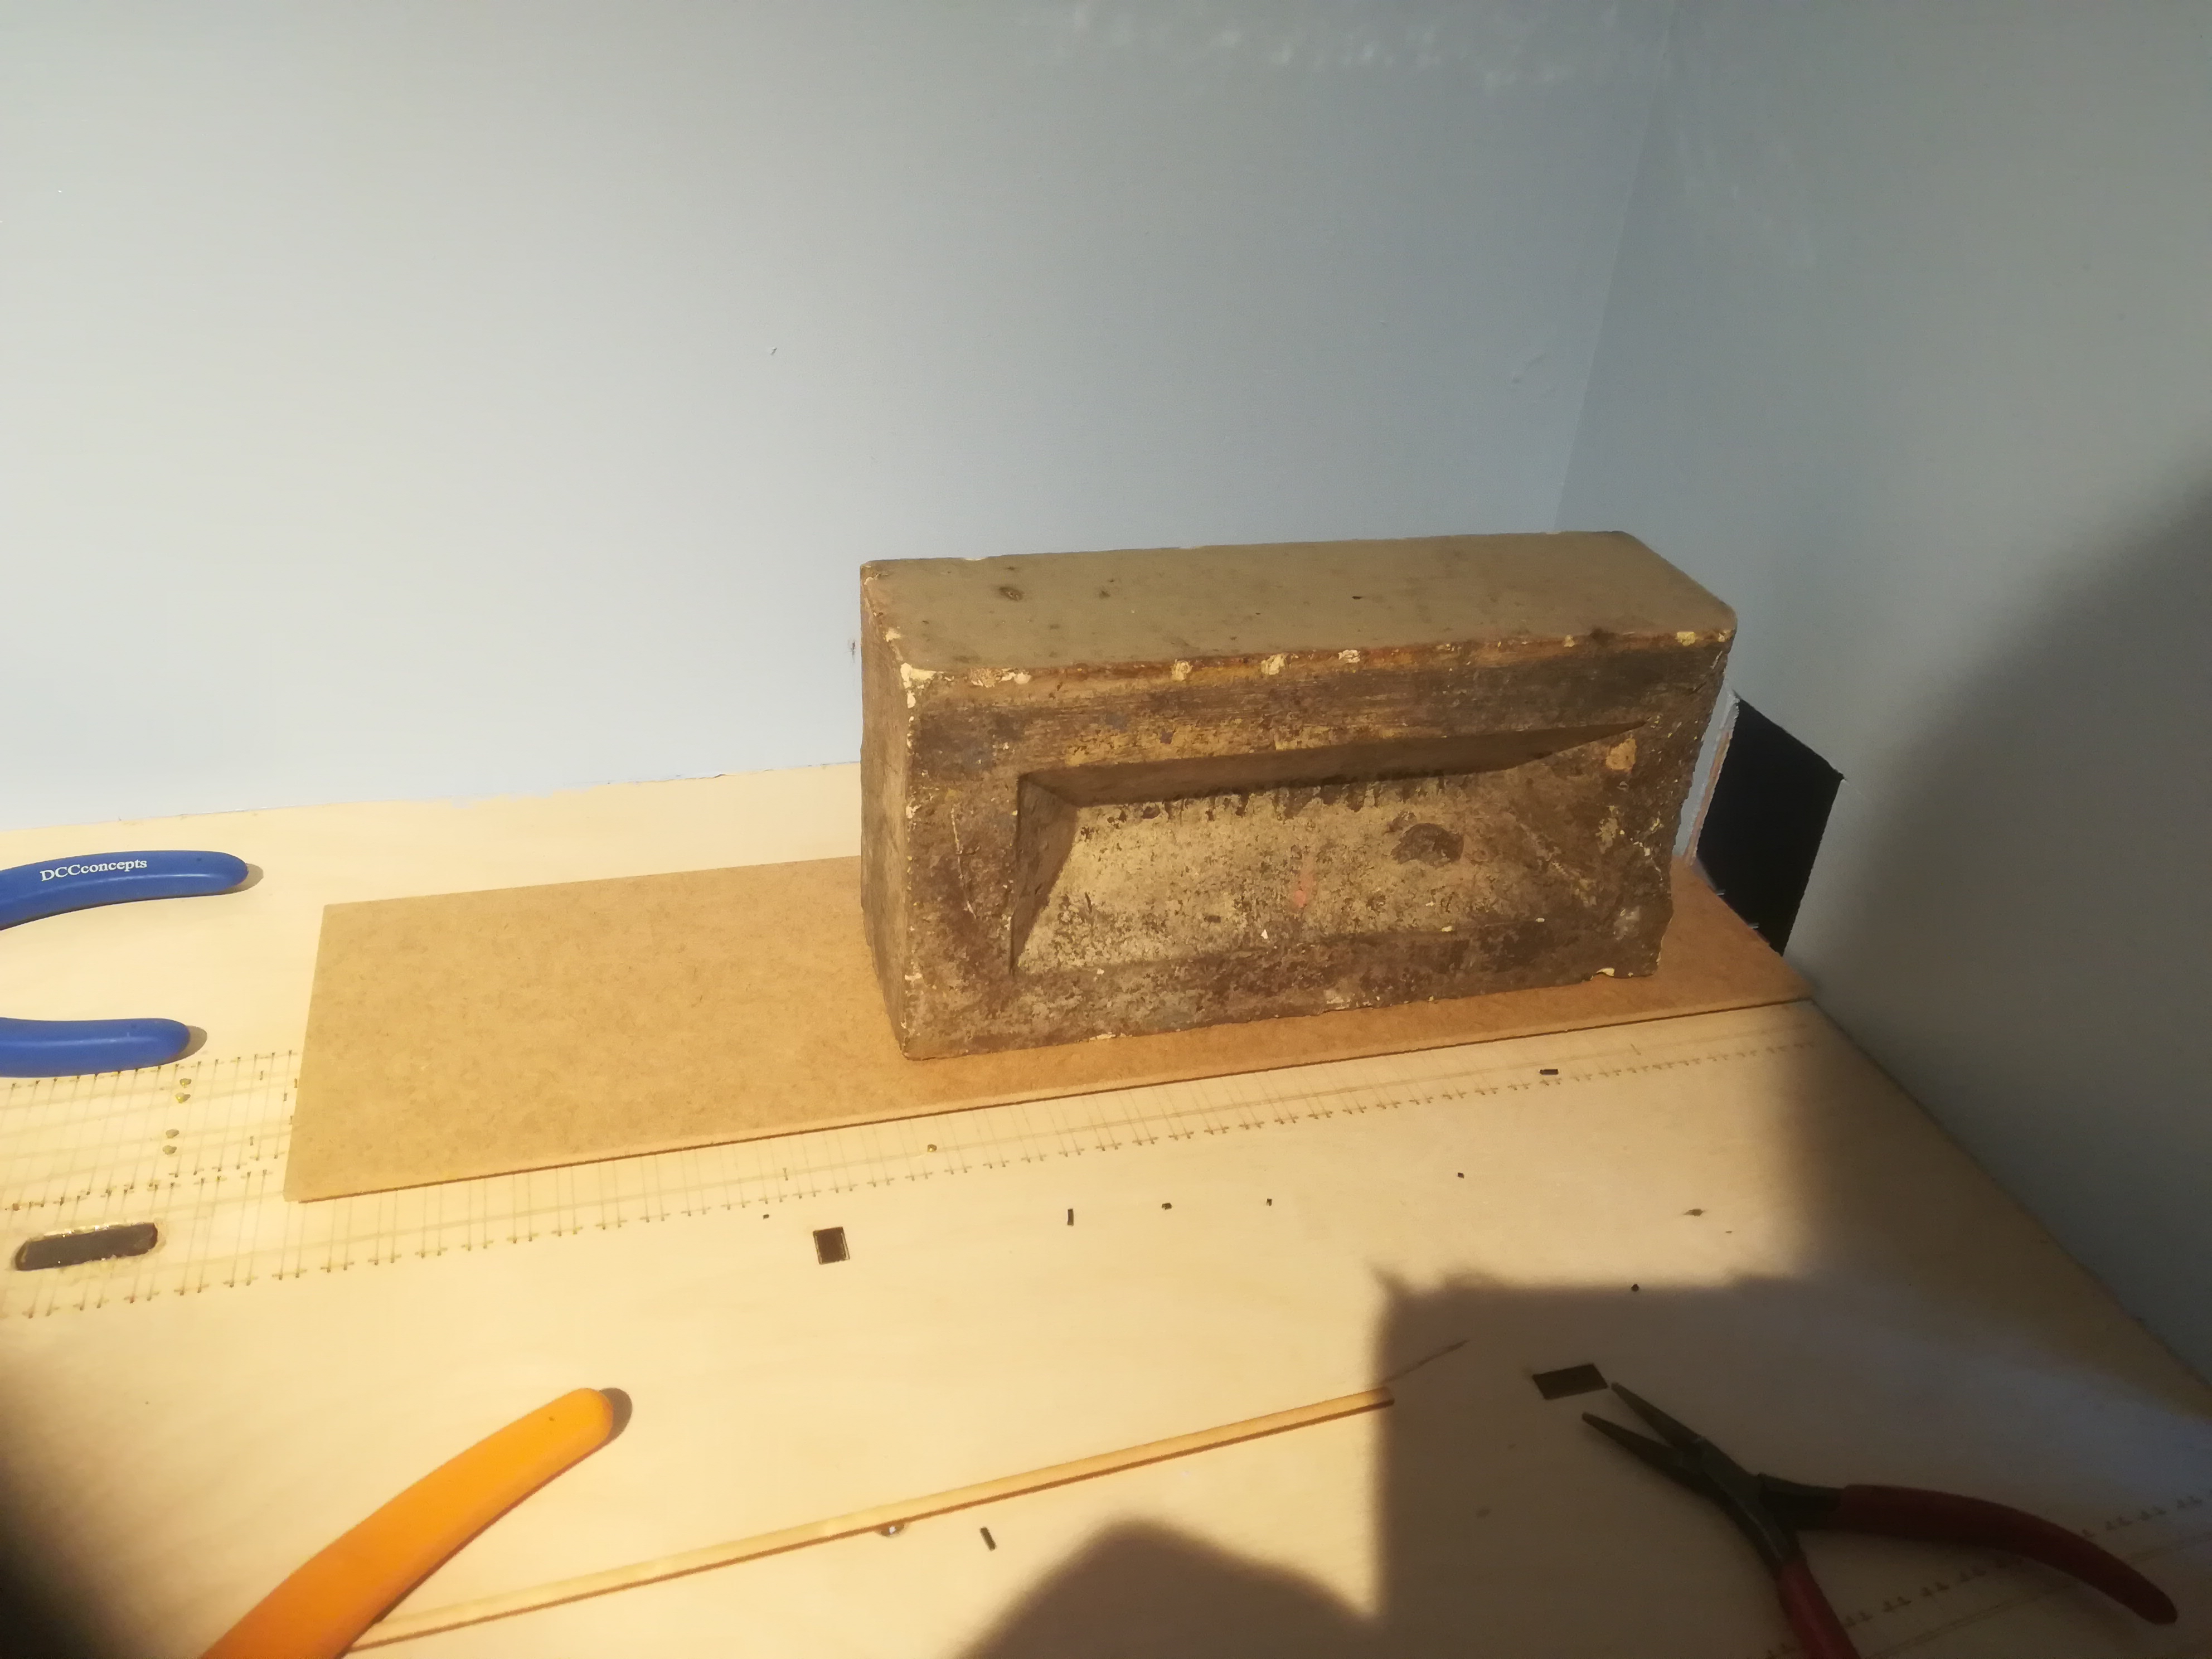
Now as is perfectly obvious from the pic, the Rishworth Trophy is a glazed brick. Not any brick though, this ones prior existence was in the gents urinals at Rishworth station. Its allegedly awarded for the best modeled gents urinals on club members layouts but has actually resided in my railway kit since New Hey literally took the pot a good few years back, partially because of the detail on the guy stood at the stones.

IMG_4726

Anyway, back on track, the rails are down – its a bit like cutting the first sod on the railway and immensely satisfying to know the railway build has properly started.


burst

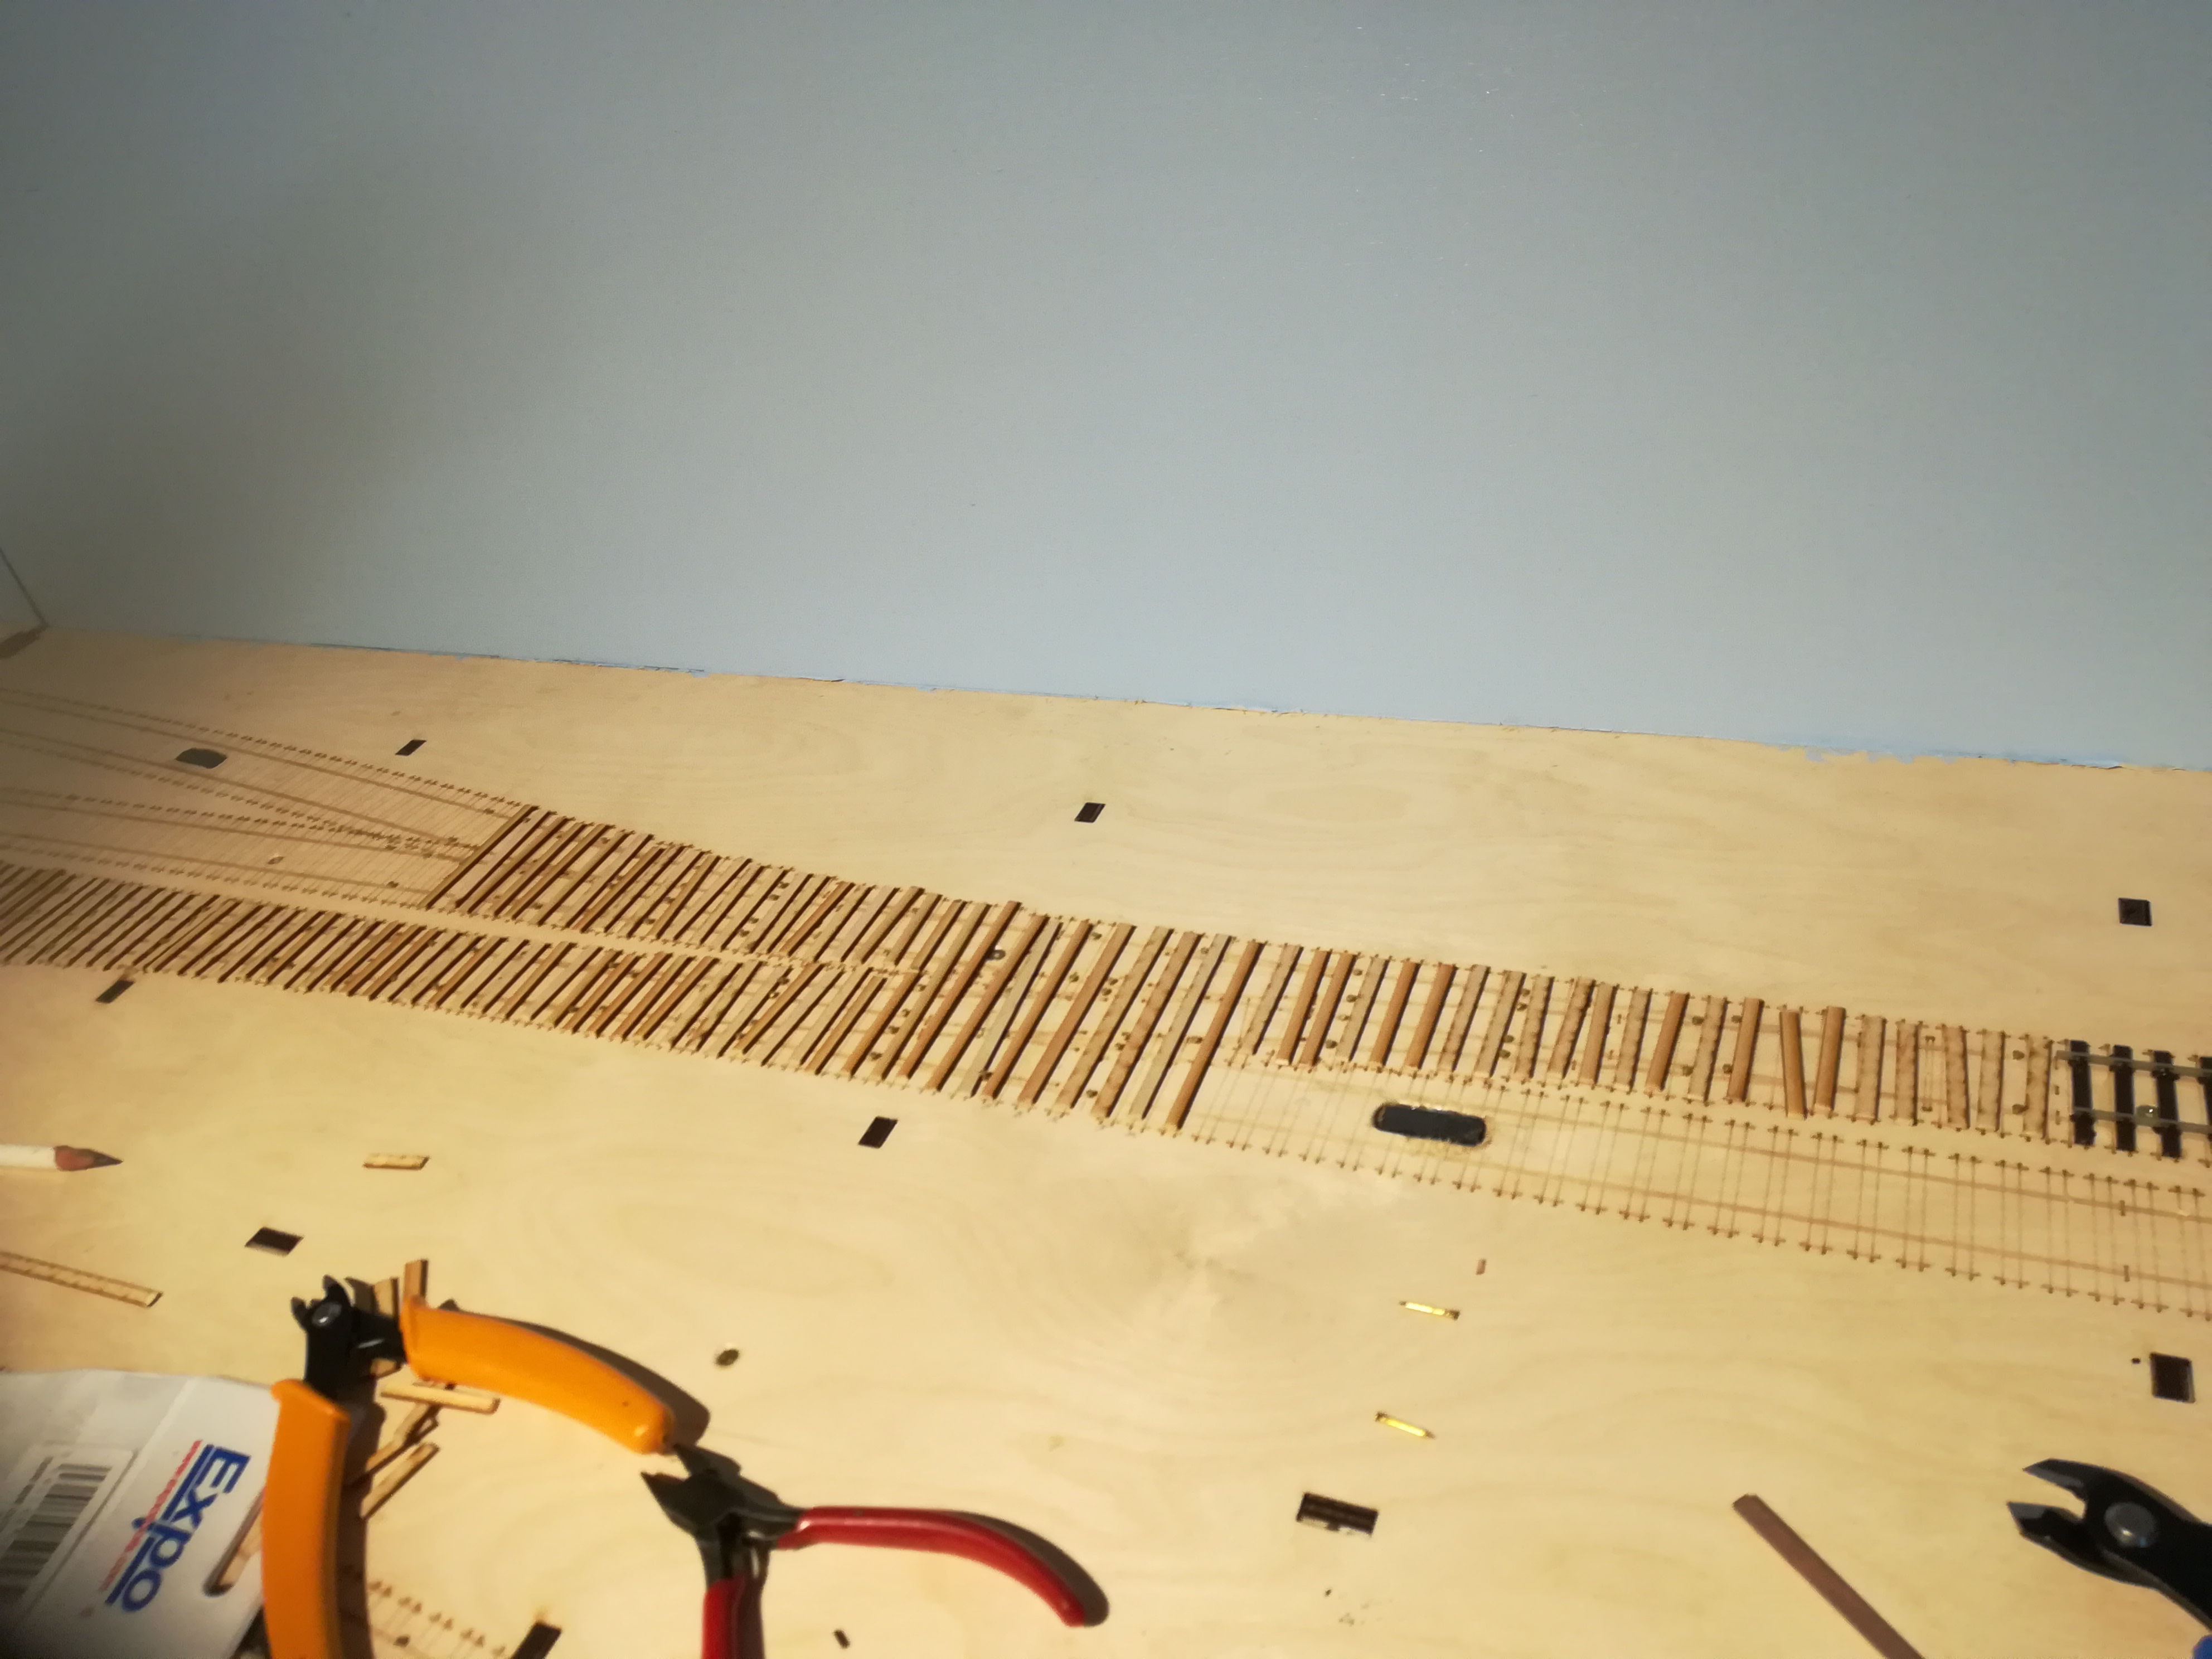
I’m systematically building the line from the fiddleyard so the next bit of build is the station throat. So this afternoon has seen me cutting around 150  1.5mm ply sleepers. Mind numbing stuff but not as mind numbing as ts going to be later this week sliding individual chairs on rail. Enough to drive me to drink and more work on the GBG in advance of next weeks committee meeting.

btr

Getting down to brass tacks.

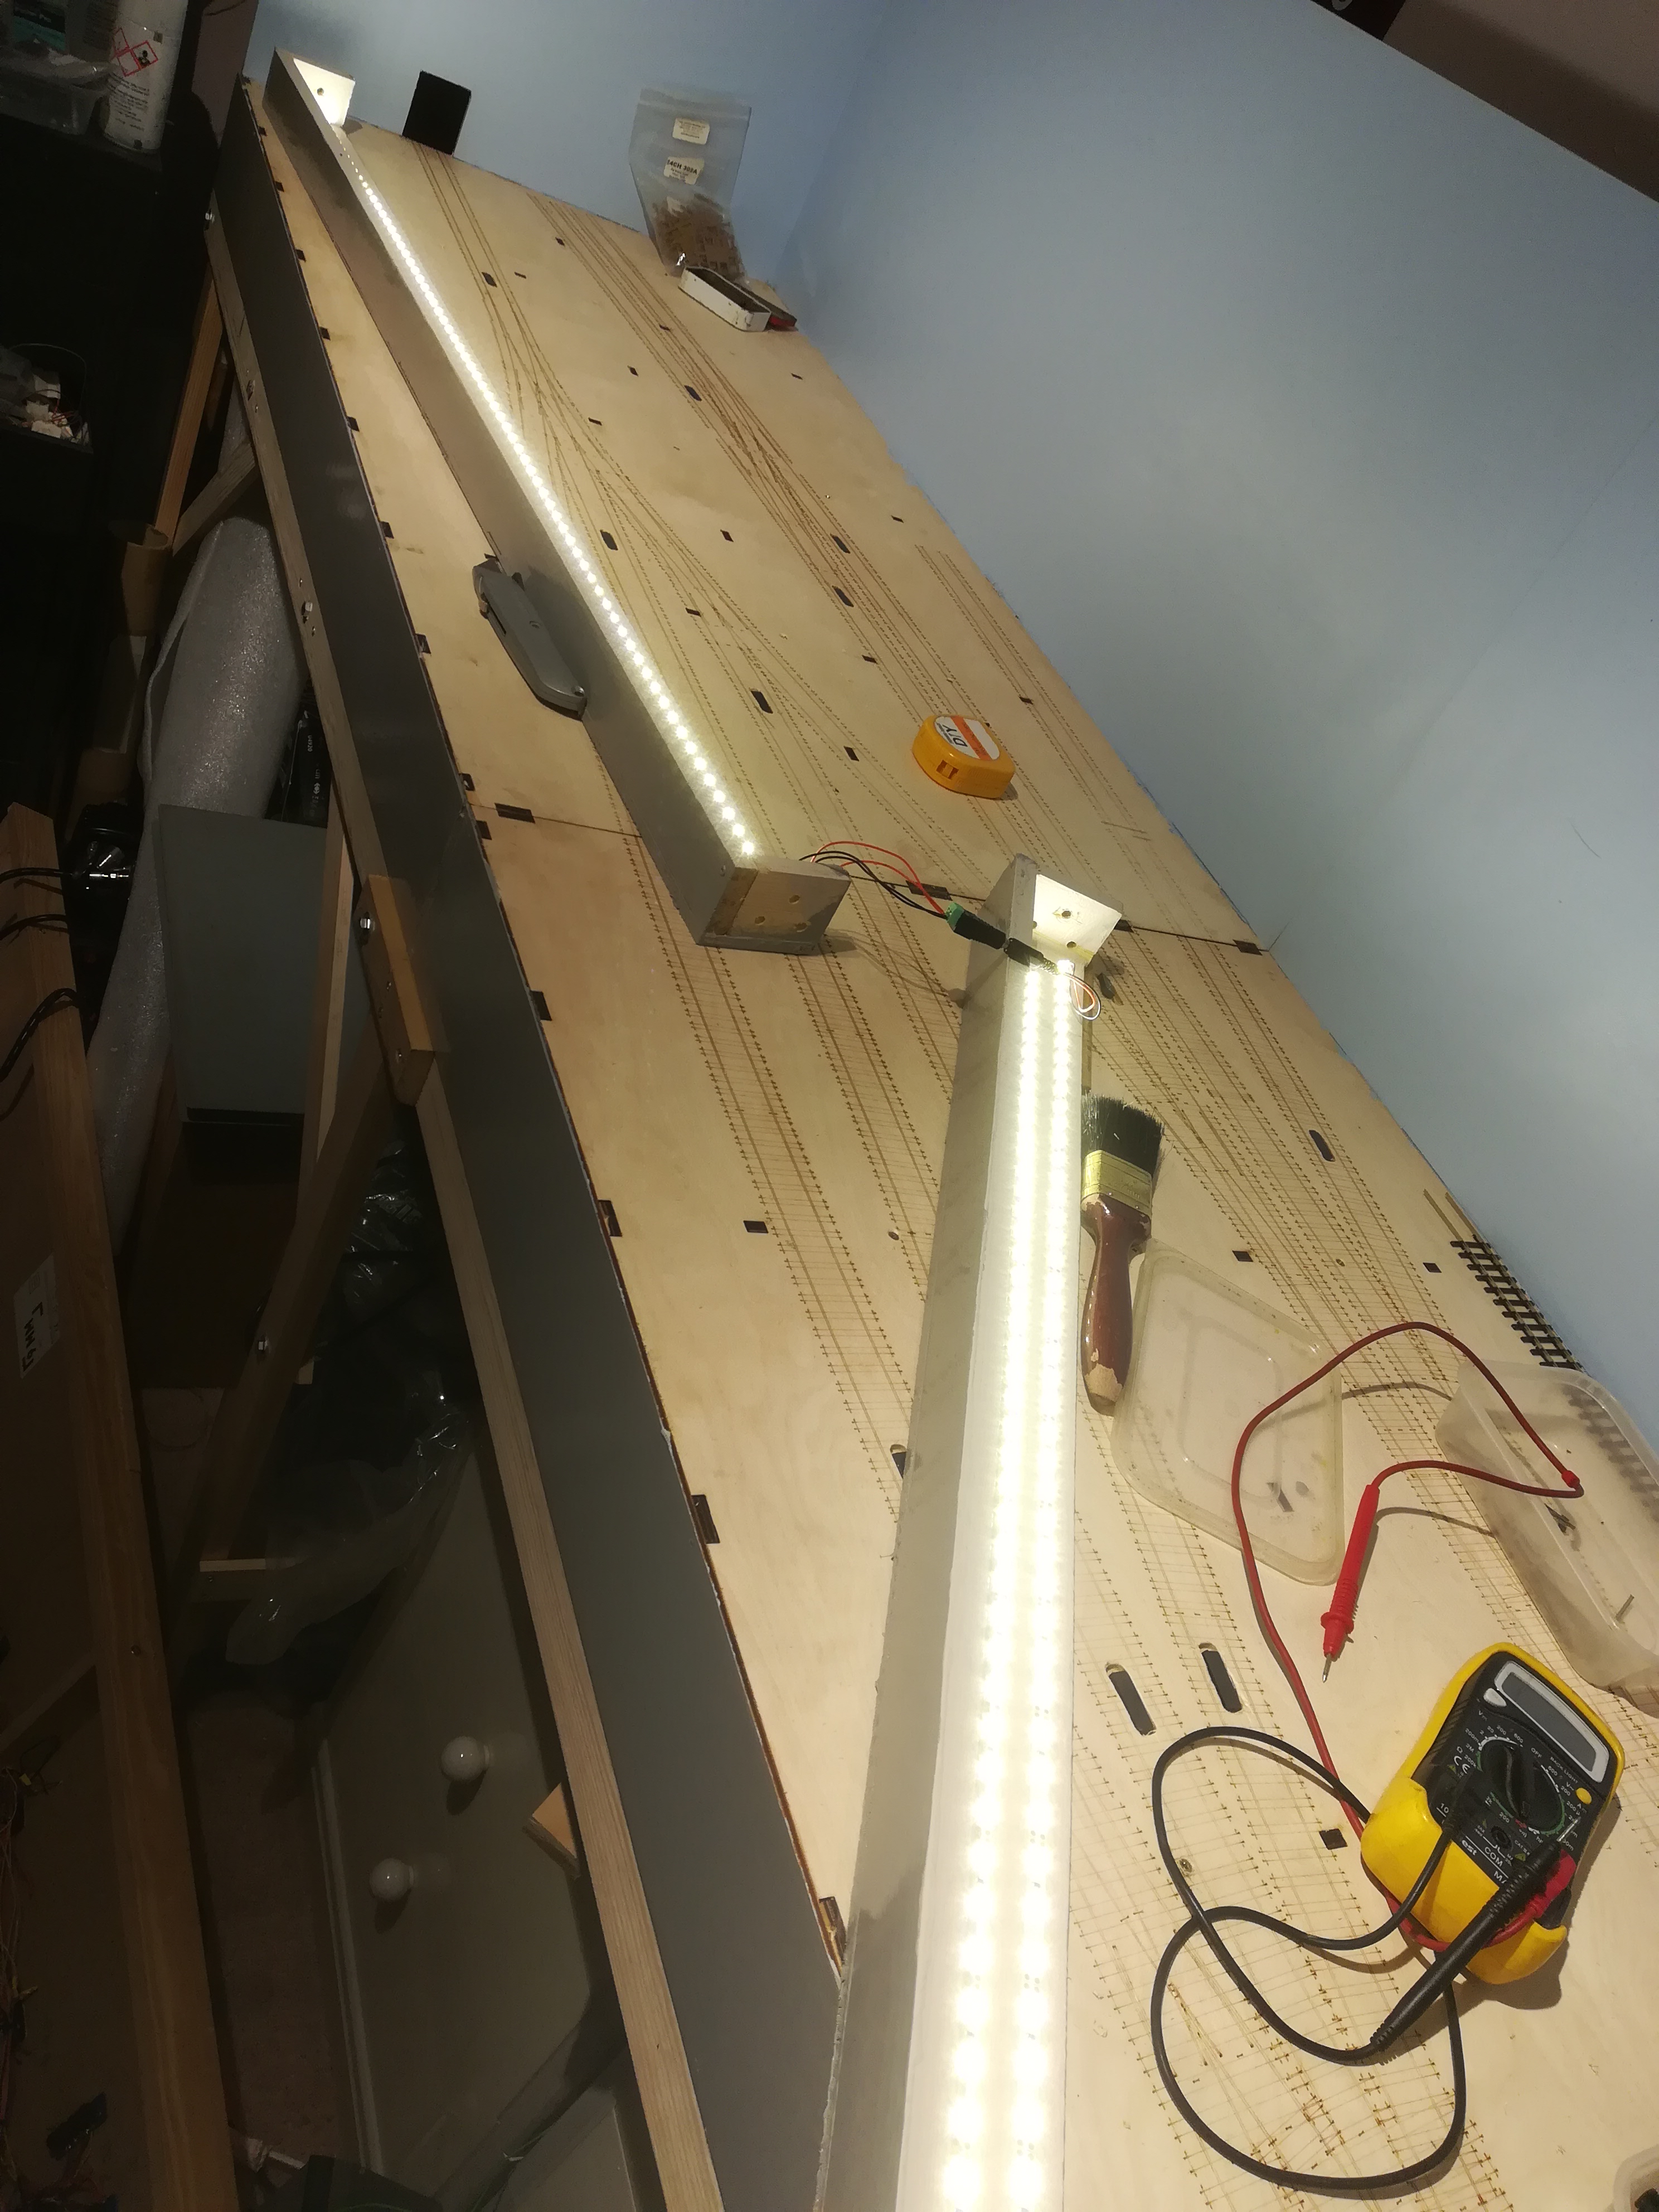
So far the Greenbooth build had all been a bit arse about face in my usual order of construction, for example painting the finish on the baseboard outers and the basic backscene have been things always done at the end of the build. Continuing that theme I finished the lighting units this week, another job usually done at the end of the build.

dav


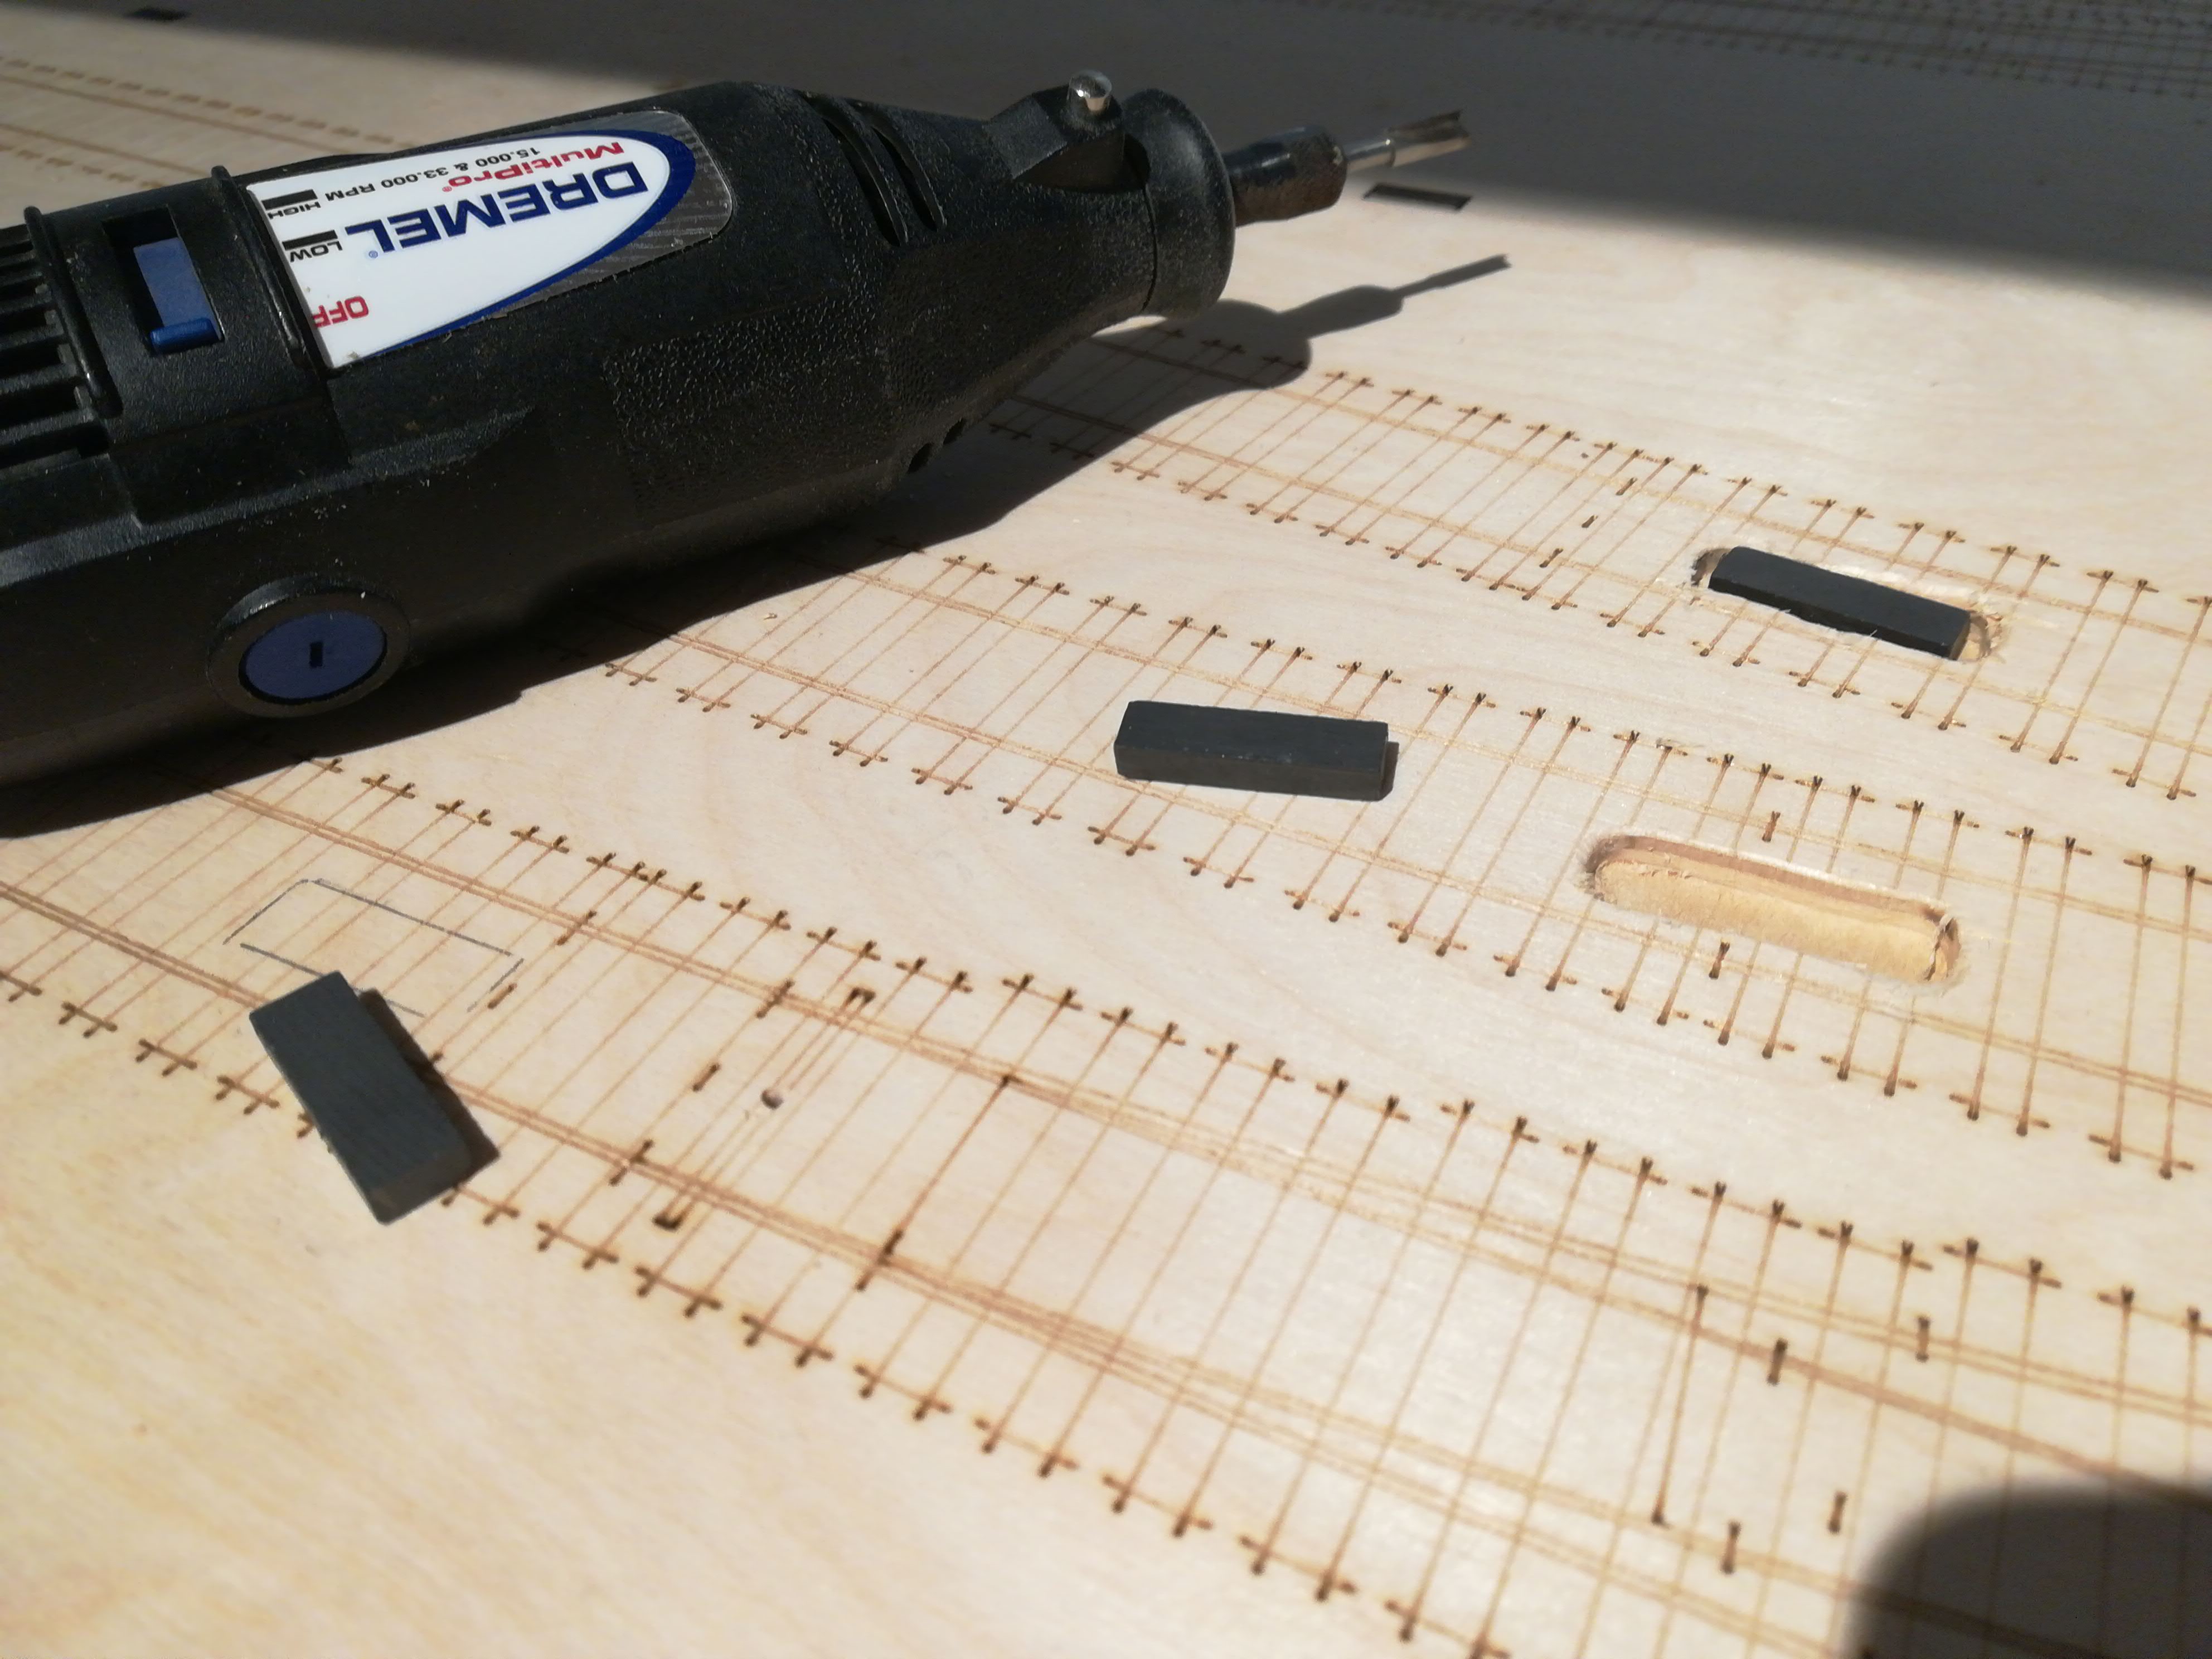
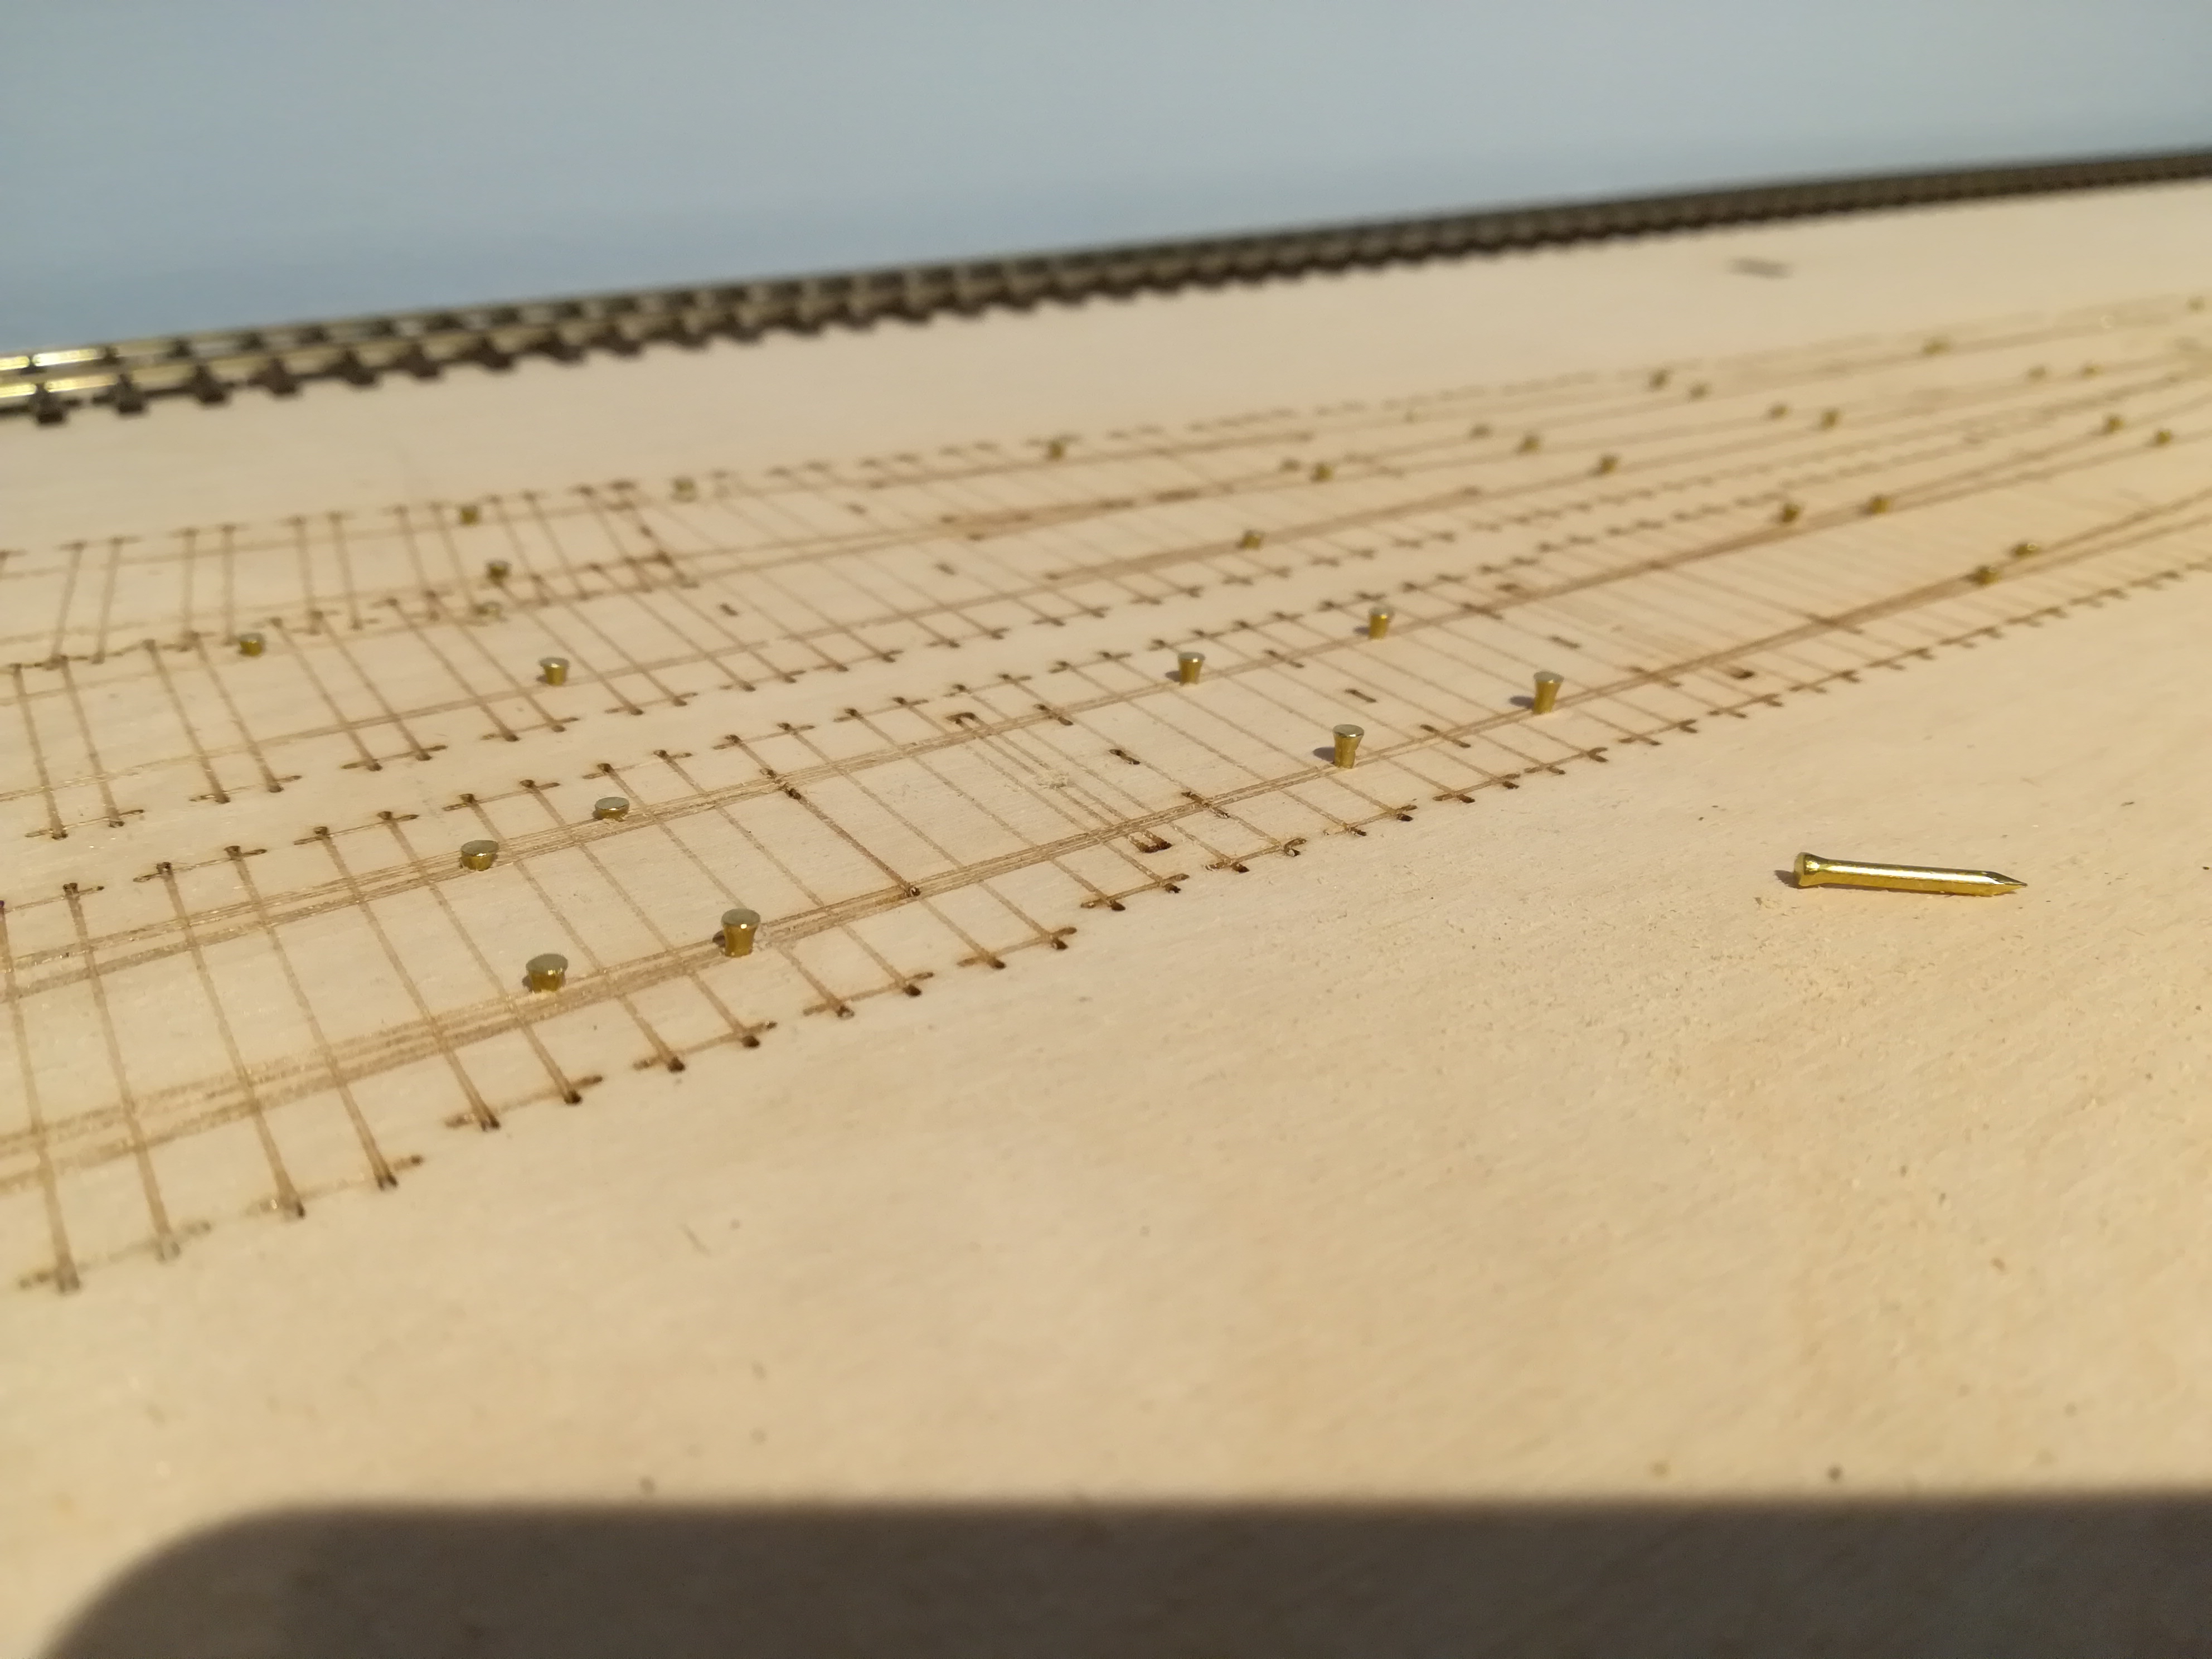
Warm white LED strip. I also started to prep track laying and building. First job was fitting a routing bit to the Dremel and attacking the baseboards, carefully routing out a recess in between where the tracks are going to place the uncoupling magnets.

burst

Its a heart stopping job at times making sure you don’t go through the baseboard and calls for a steady hand and patience with the Dremel – all done by hand and rack o’th eye. The magnets are fixed in place with two part epoxy. Ive decided to use permanent magnets in order to reduce the amount of wiring underneath and also make a simpler control panel – Ive also found the electromagnets (PK) I used on North Ballachulish a tad underwhelming in power.

The next task has been to drill pilot holes and fix in brass tacks. Those who have read earlier blog posts know I use these to anchor the rail to by soldering when point building, it avoids creep out of gauge whilst the Exactoscale chairs are curing on the ply sleepers and also gives the build a lot more strength. On points I usually put a pin in between every 5th or 6th sleeper.

dav

I also put pins in where every length of plain track goes, the bonus of this method is the pin protrudes below the baseboard and instead of having to put dropper wires in, I have a hard point to solder the track feed wires to, and which will give a good reliable track feed.

davdav

Of course as always nothing ever goes quite to plan, after getting a good two thirds of this baseboard done, I managed to snap my last 1mm drill. Job stopped, I’ll get some replacements at Warley this weekend.


Meanwhile, back North of Hadrians Wall…..

Skip6

North Ballachulish is out at the Warley NEC show this coming weekend, Stand C32, although due to a planning cock up in siting the layout in the hall,  (the layout had been placed in the middle of a pen so punters could only see the short side of the L) I was a tad concerned about taking it. However good sense has prevailed and North B has been relocated. We are actually where C47/ C48 are on the guide floor plan!

Although generally overall the show is enjoyable, it can be a bit of a trial to exhibit at as its a very long day (09:15 to 18:00 on the Saturday with a 17:00 finish on the Sunday) and is also so busy. Even getting into the hall to set up and strip down the layout can try the patience of a saint.

As always the team will be taking the social aspect of the show very seriously, the hotel allocated to us is actually in Tamworth so advance research has been done in identifying licensed premises that will satisfy the needs and requirements of the CAMRA card carrying massive.

Give us a shout if you are there!